Navigation: Clients -> Properties ->+ New Property
- Select the “Clients” module from the left navigation menu and choose Properties.
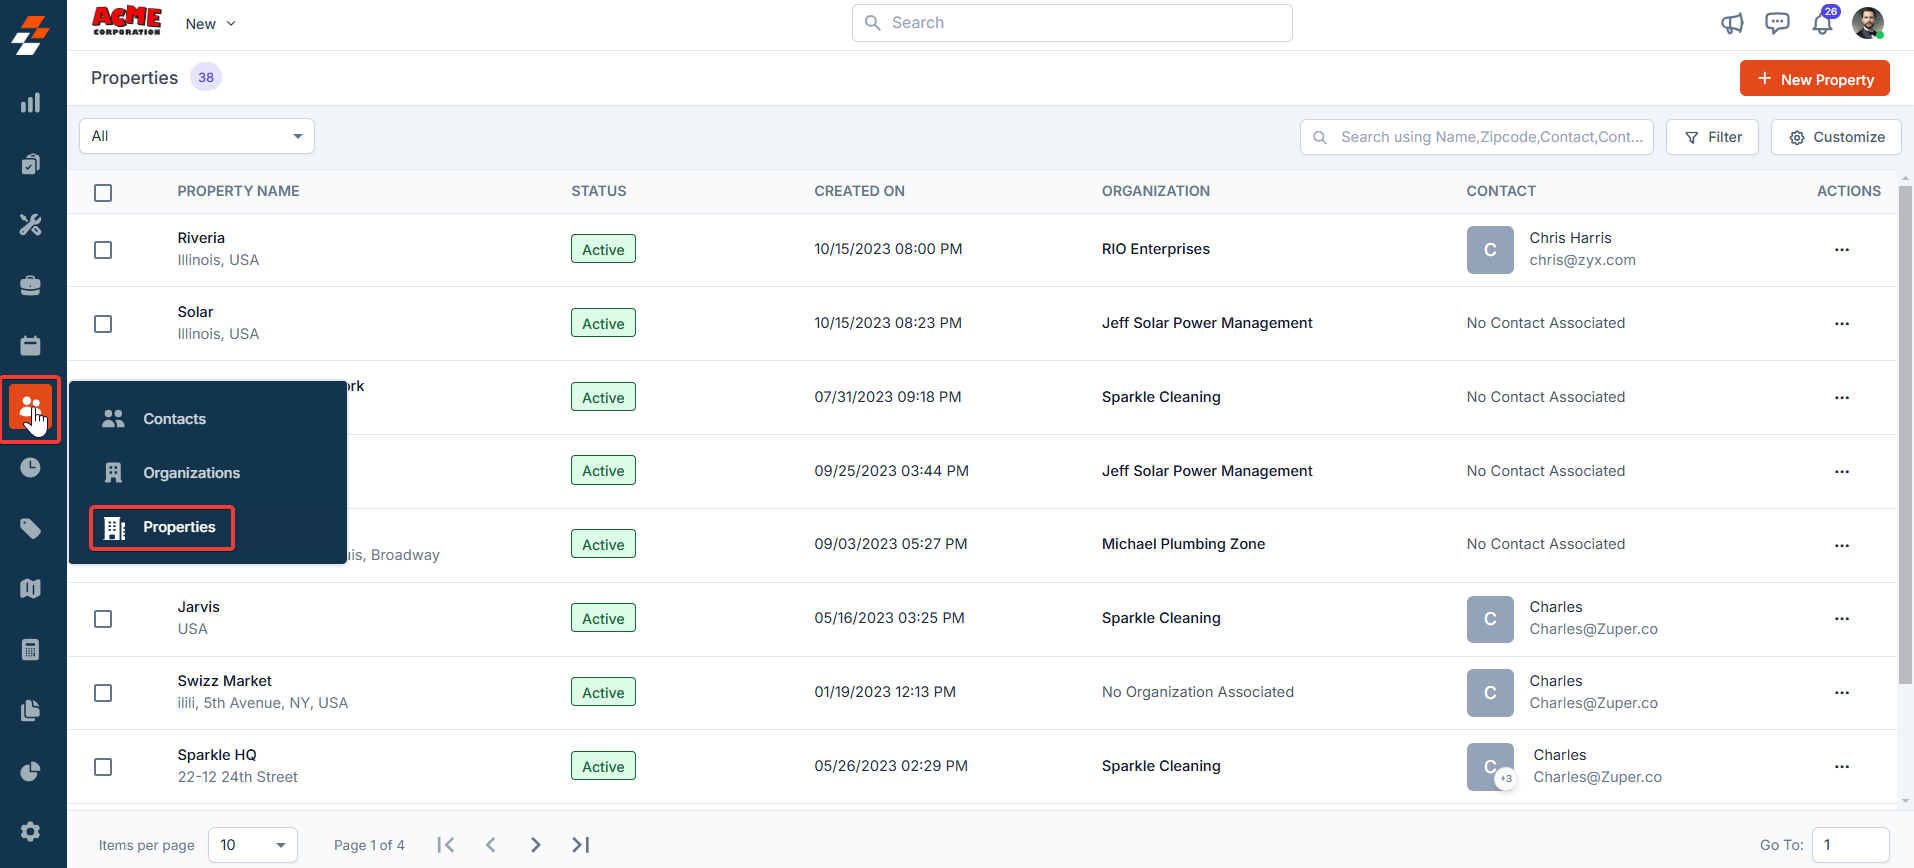
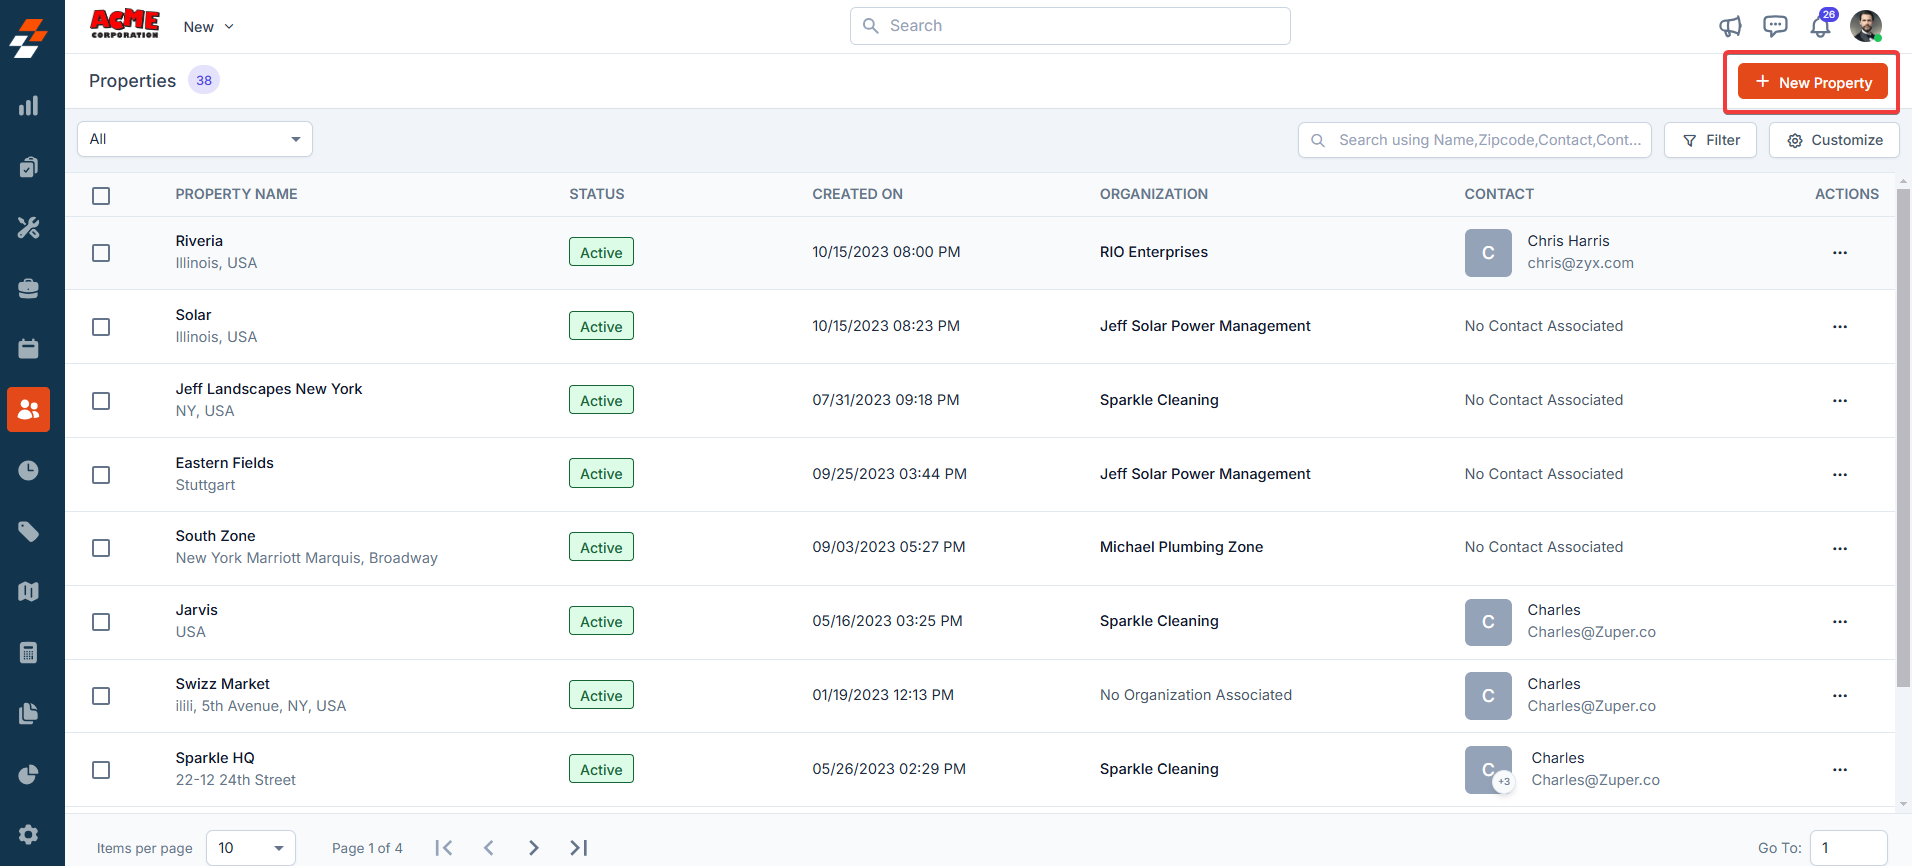
- The Properties listing page opens.
- Click the ”+ New Property” button at the top right corner of the page. A new property creation page will appear.
- Fill in the following sub-sections:
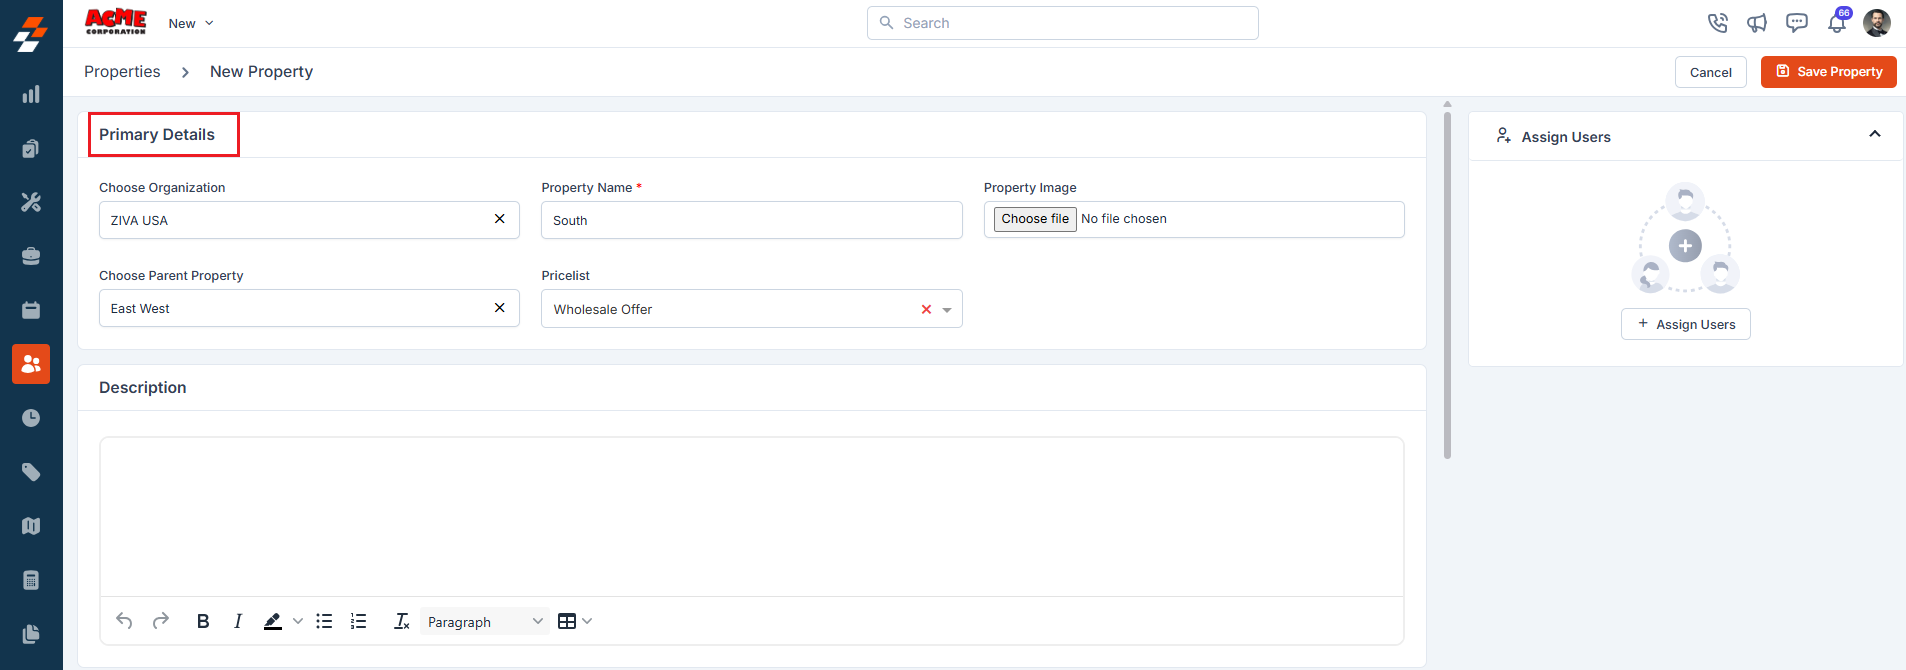
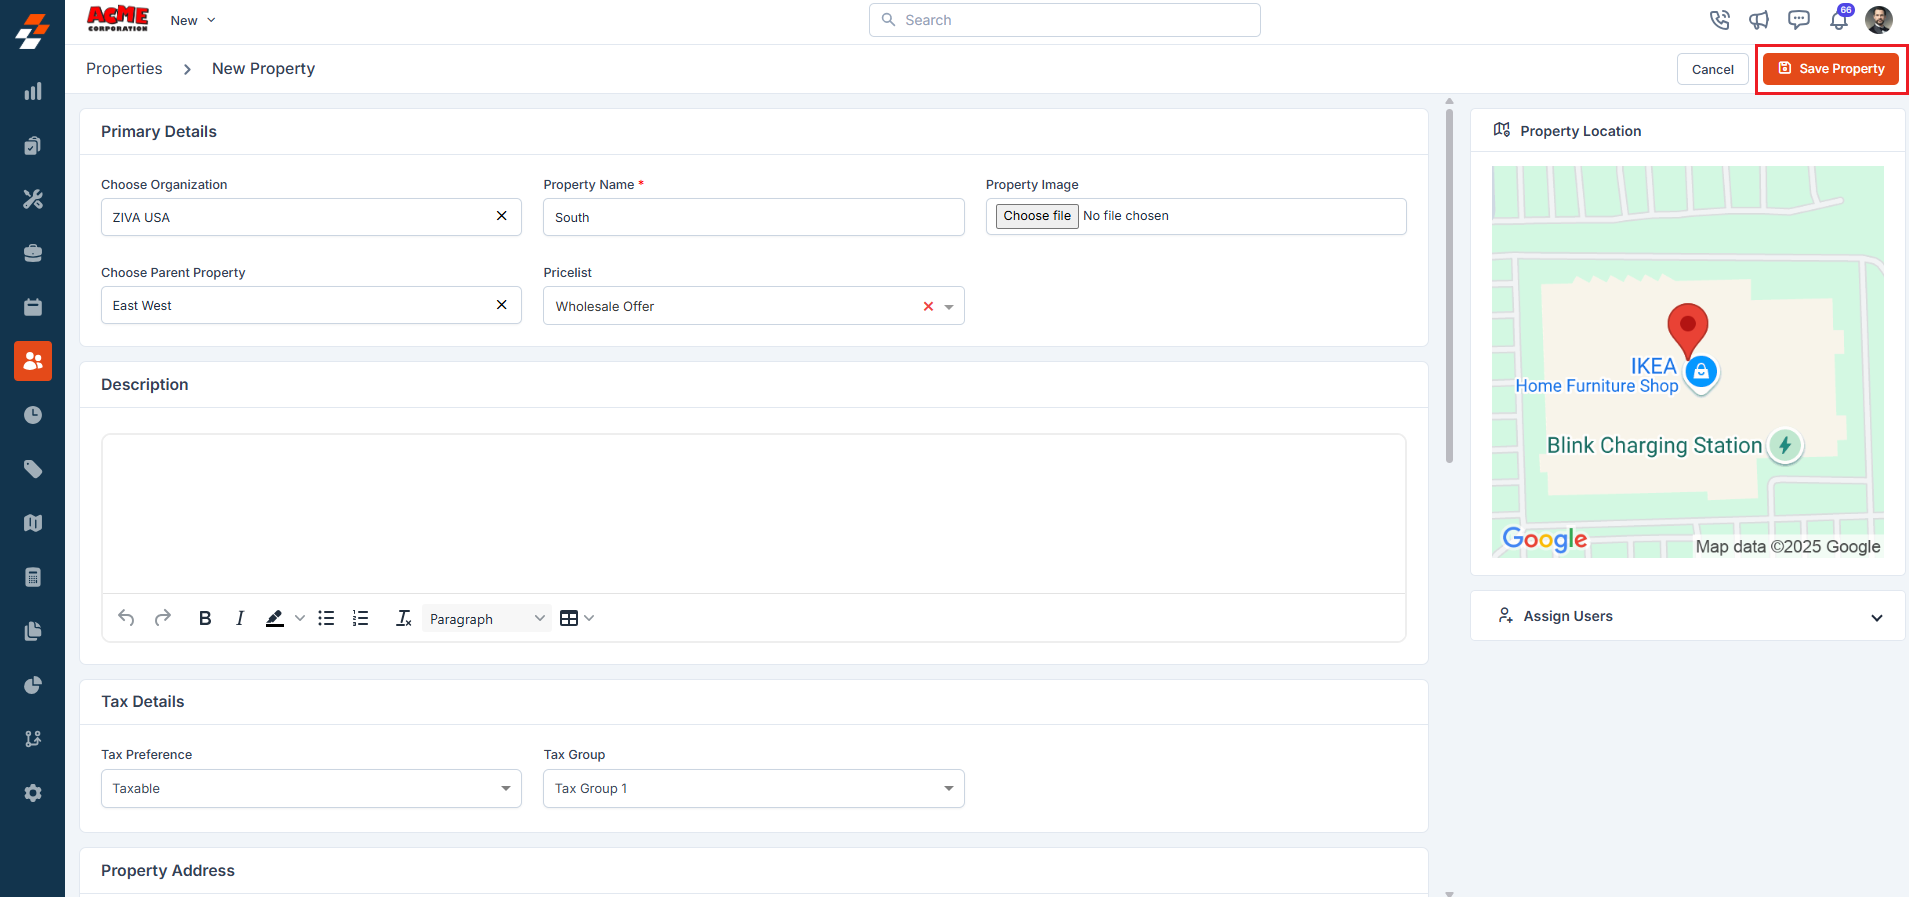
- Primary Details
- Choose Organization: Select the organization that this property belongs to.
- Property Name: Enter the name of the property.
- Property Image: Upload an image to visually identify the property.
- Choose Parent Property: If this property is a child property, choose a parent property.
- Pricelist: Select the relevant price list to be applied when jobs or services are performed for this property.
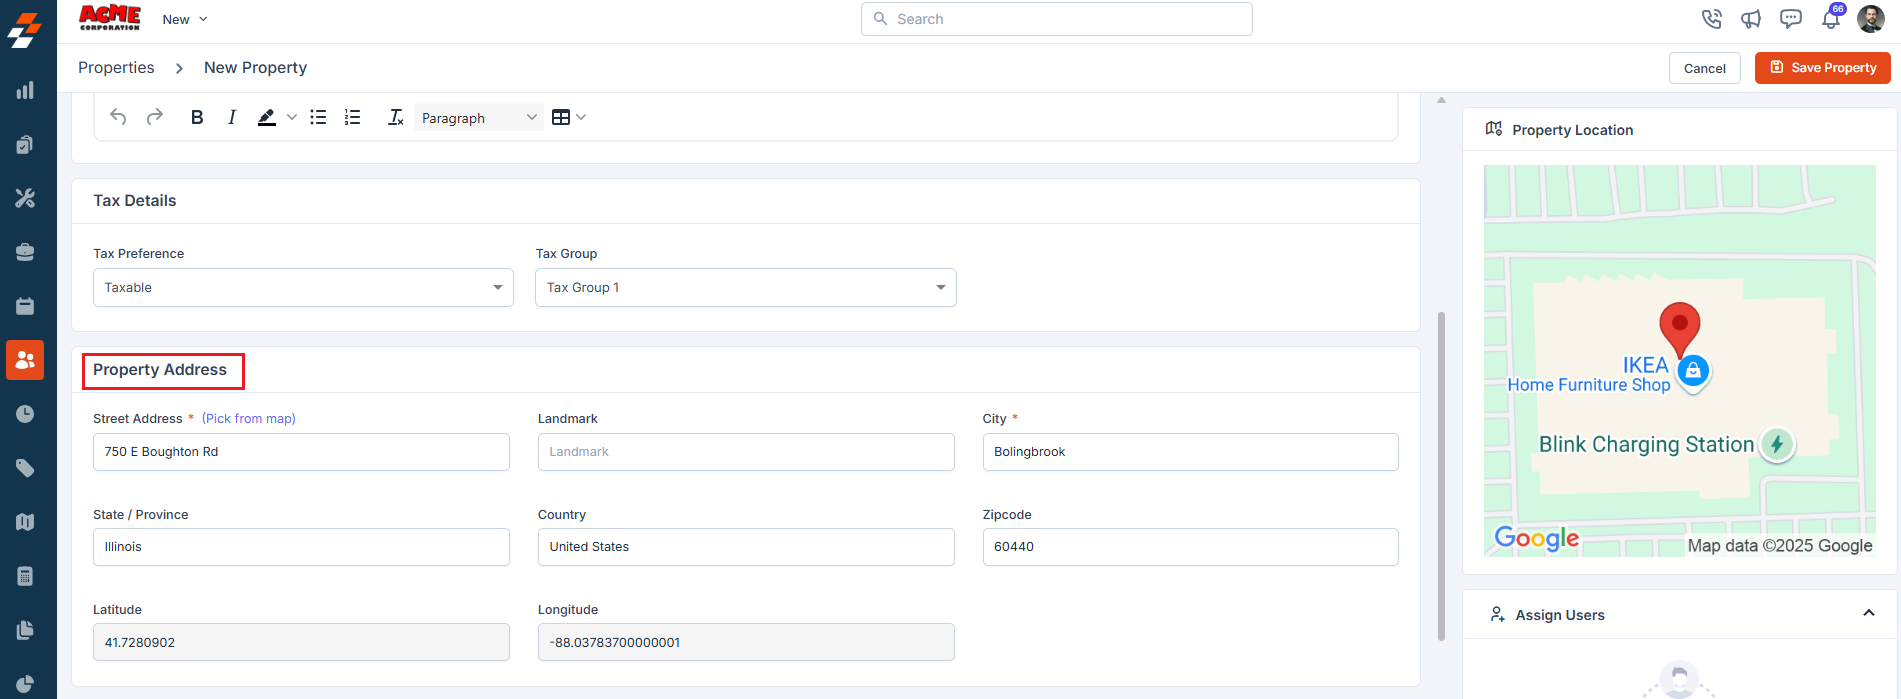
- Tax Details Choose the applicable tax settings for the property based on your region or internal policies. These settings will automatically be applied to invoices and billing documents.
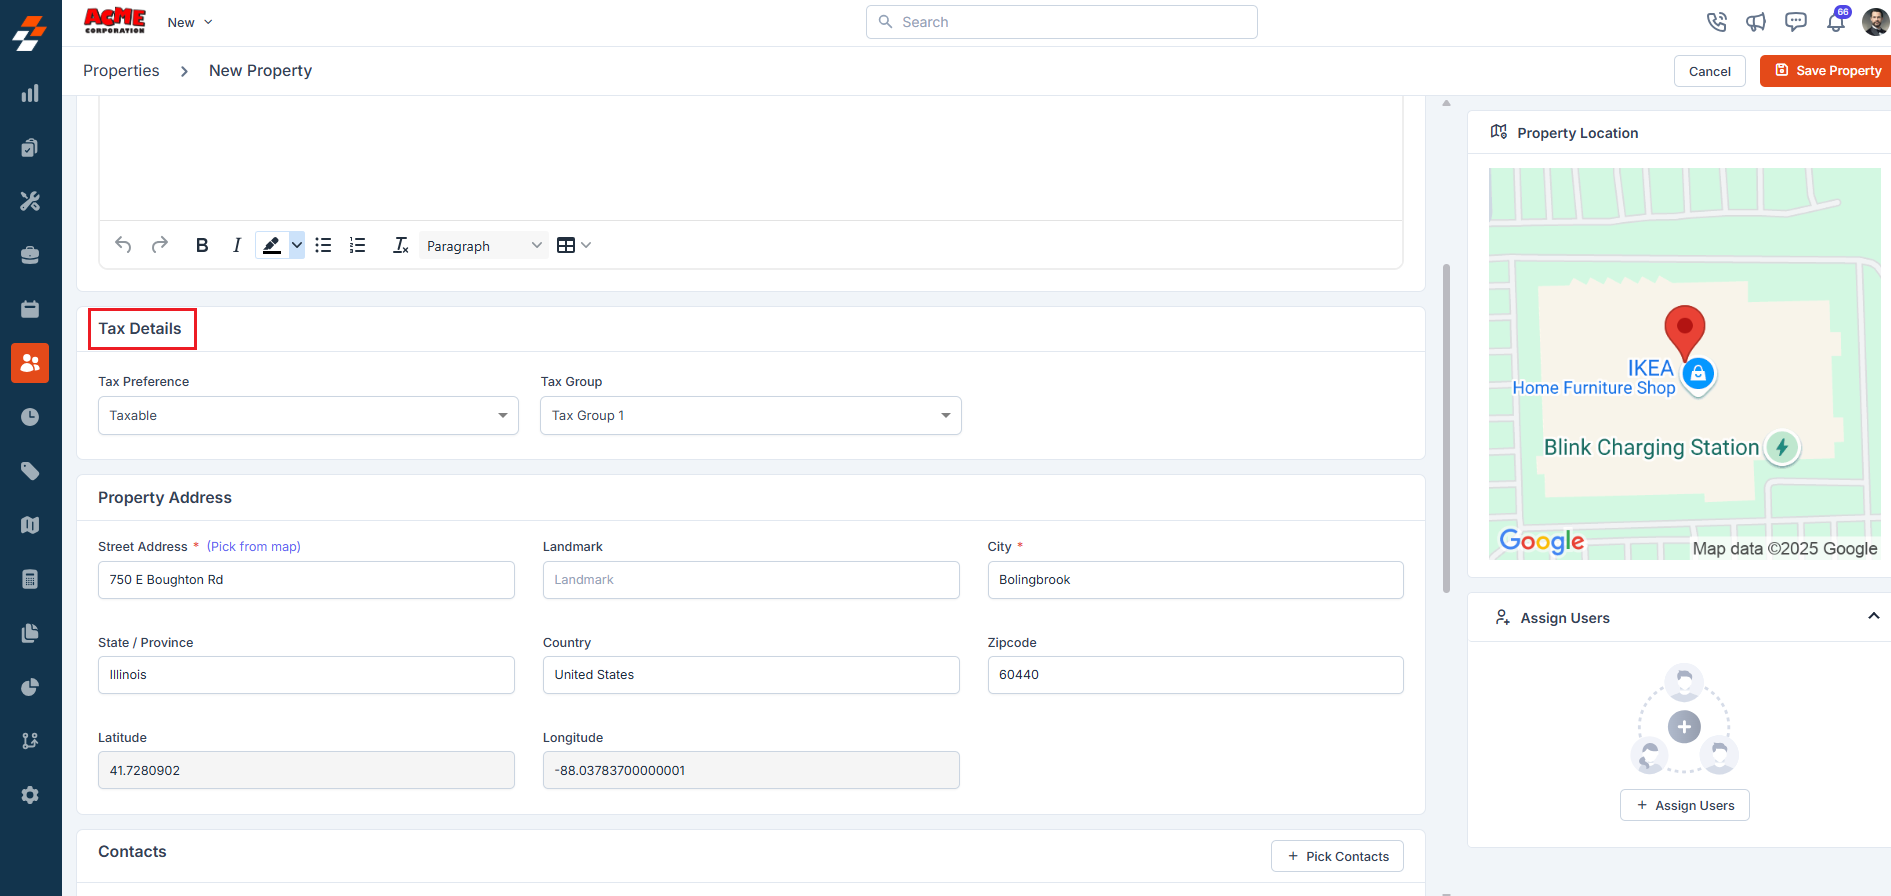
- Property Address Add the property locations. You can specify these details in two ways.
- Address Entry: Type the full physical address.
- Geo-Coordinates: Enter latitude and longitude if you want to use exact map-based positioning.
 For the most accurate location data, use the “Pick from Map” option. This allows you to pinpoint the address directly on the map interface.
Once you’ve selected the correct location, click “Use this Address” to save the information.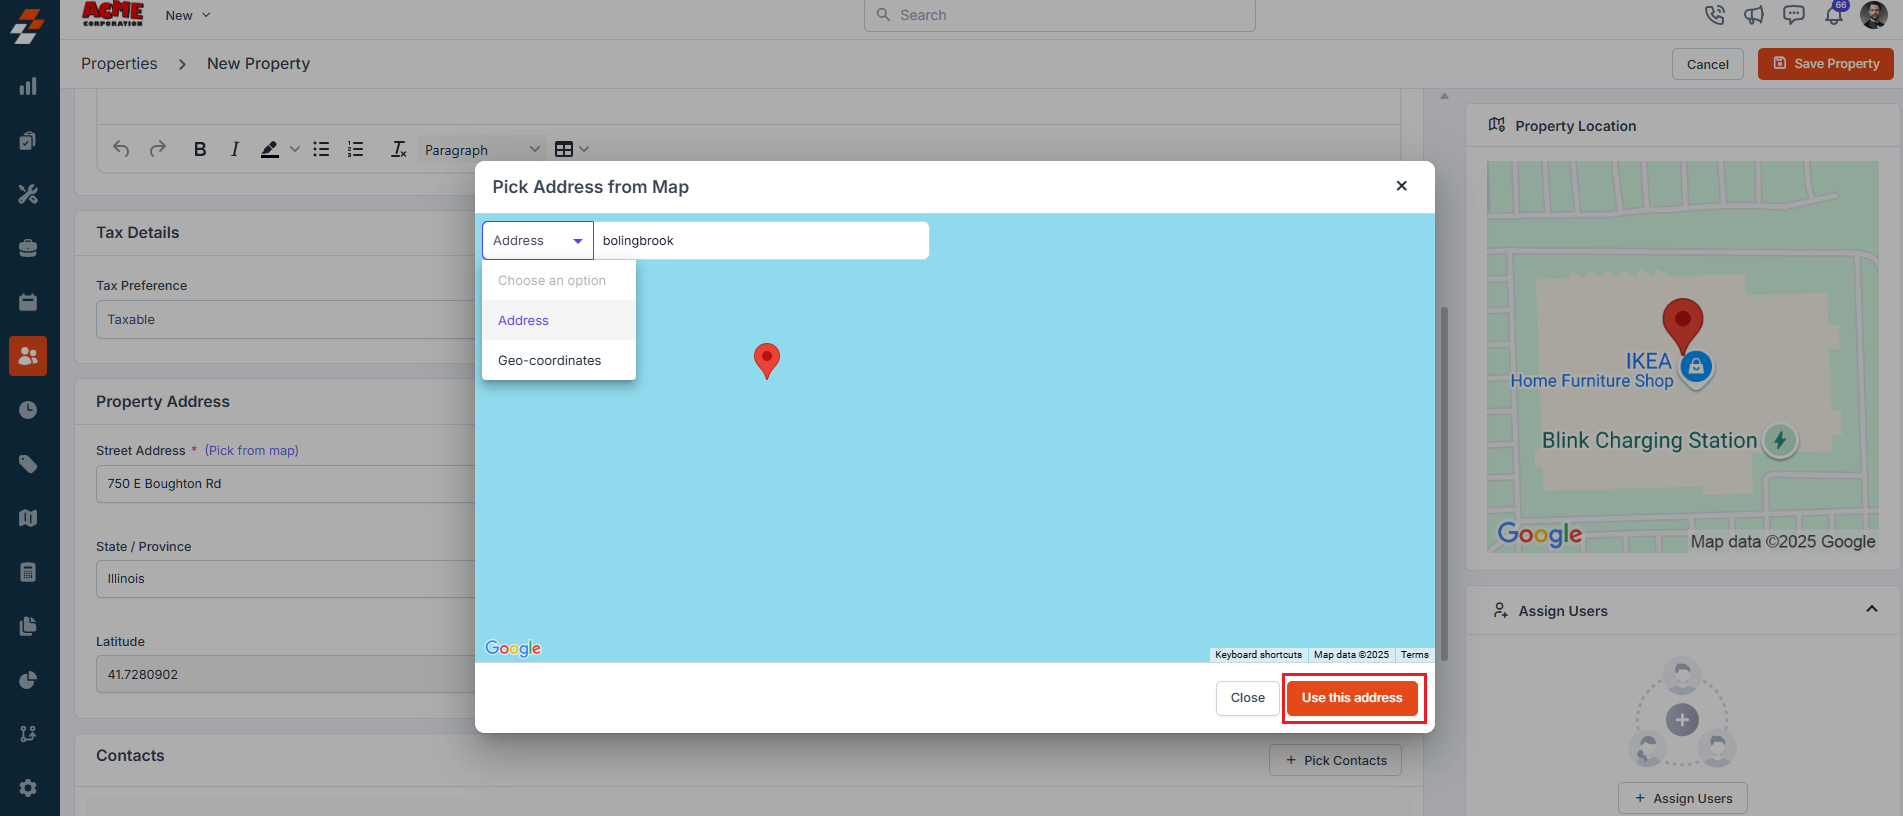
- Contacts: Add customer information for this property.
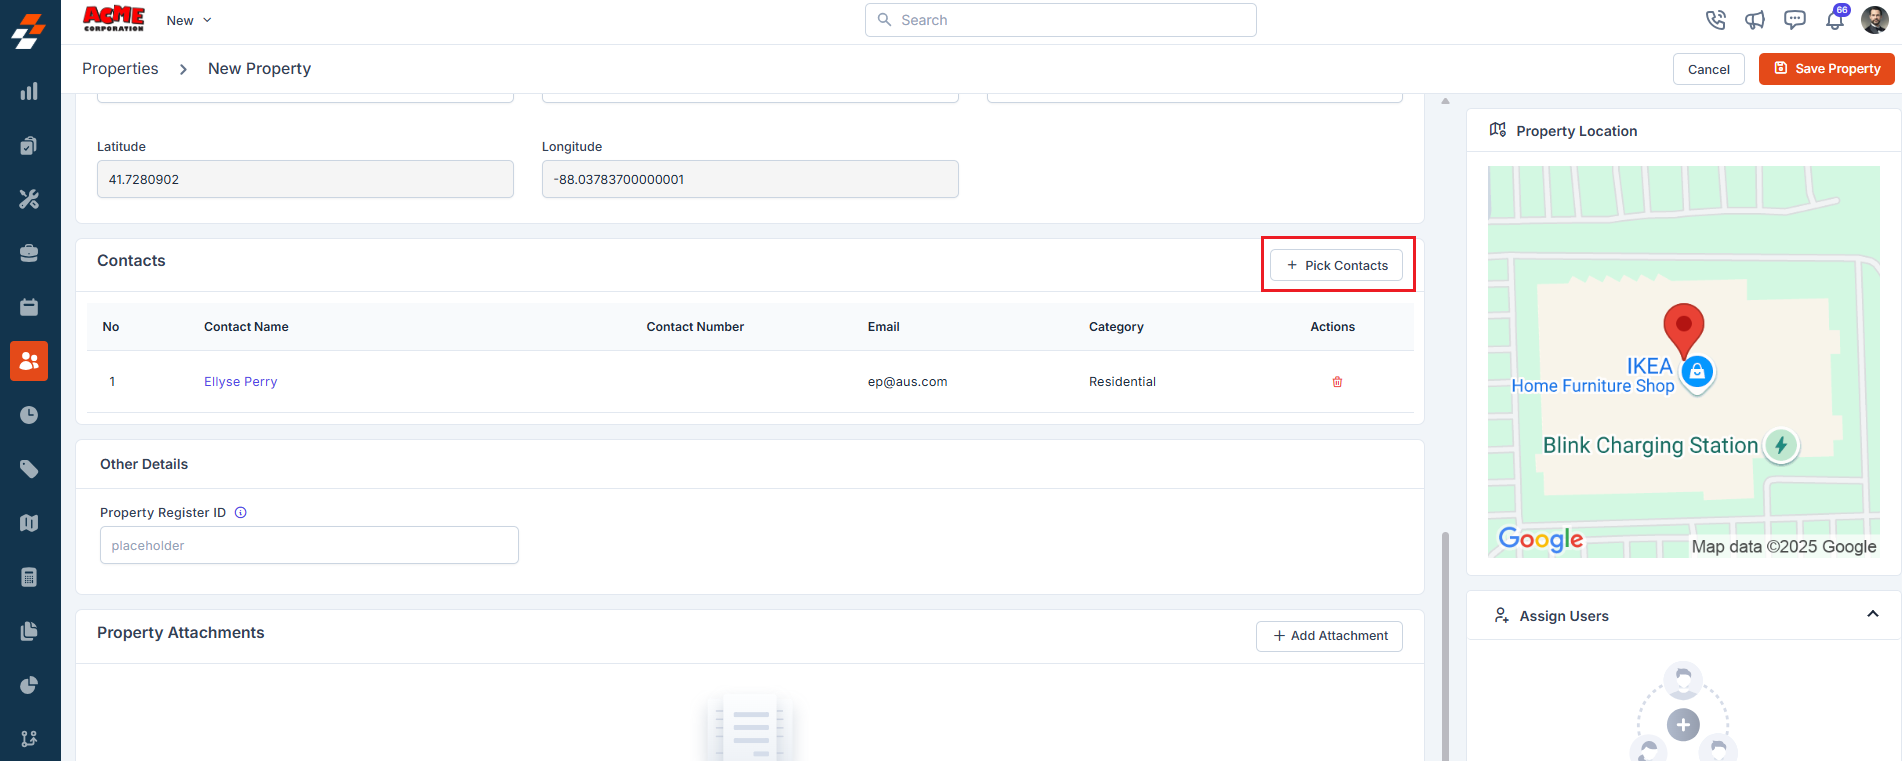
- Other Details If any custom fields are added under the settings, you can fill in the details.
- Save Property After entering all the necessary details, click the “Save Property” button to successfully create the property.
- Primary Details
Address sync with customer/contacts
If this property is linked to a contact, Zuper keeps the addresses on both records in sync. Update the address here, and Zuper updates the service address on the linked contact automatically and vice versa. Creating a property is essential for associating it with multiple modules, such as assets and contacts. This association enables field technicians to efficiently provide services to end contacts.