

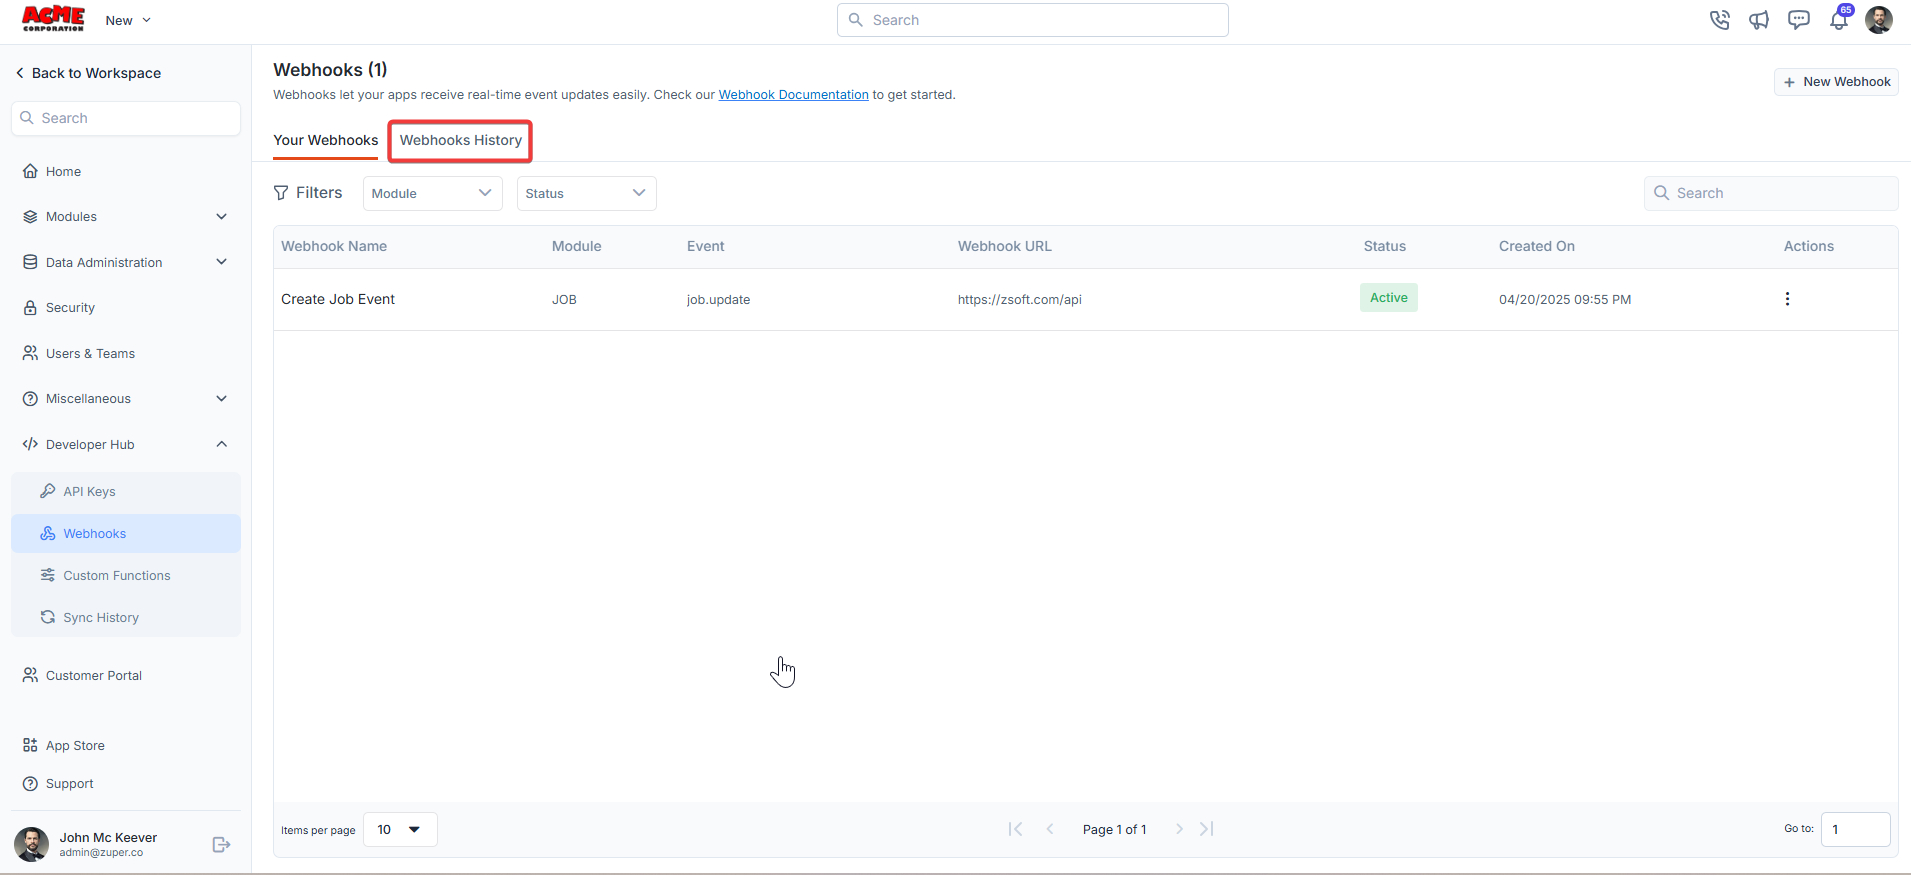
Navigation: Settings -> Developer Hub -> Webhooks
- From the settings, select “Developer Hub,” choose “Webhooks,” and click “+New Webhook.”
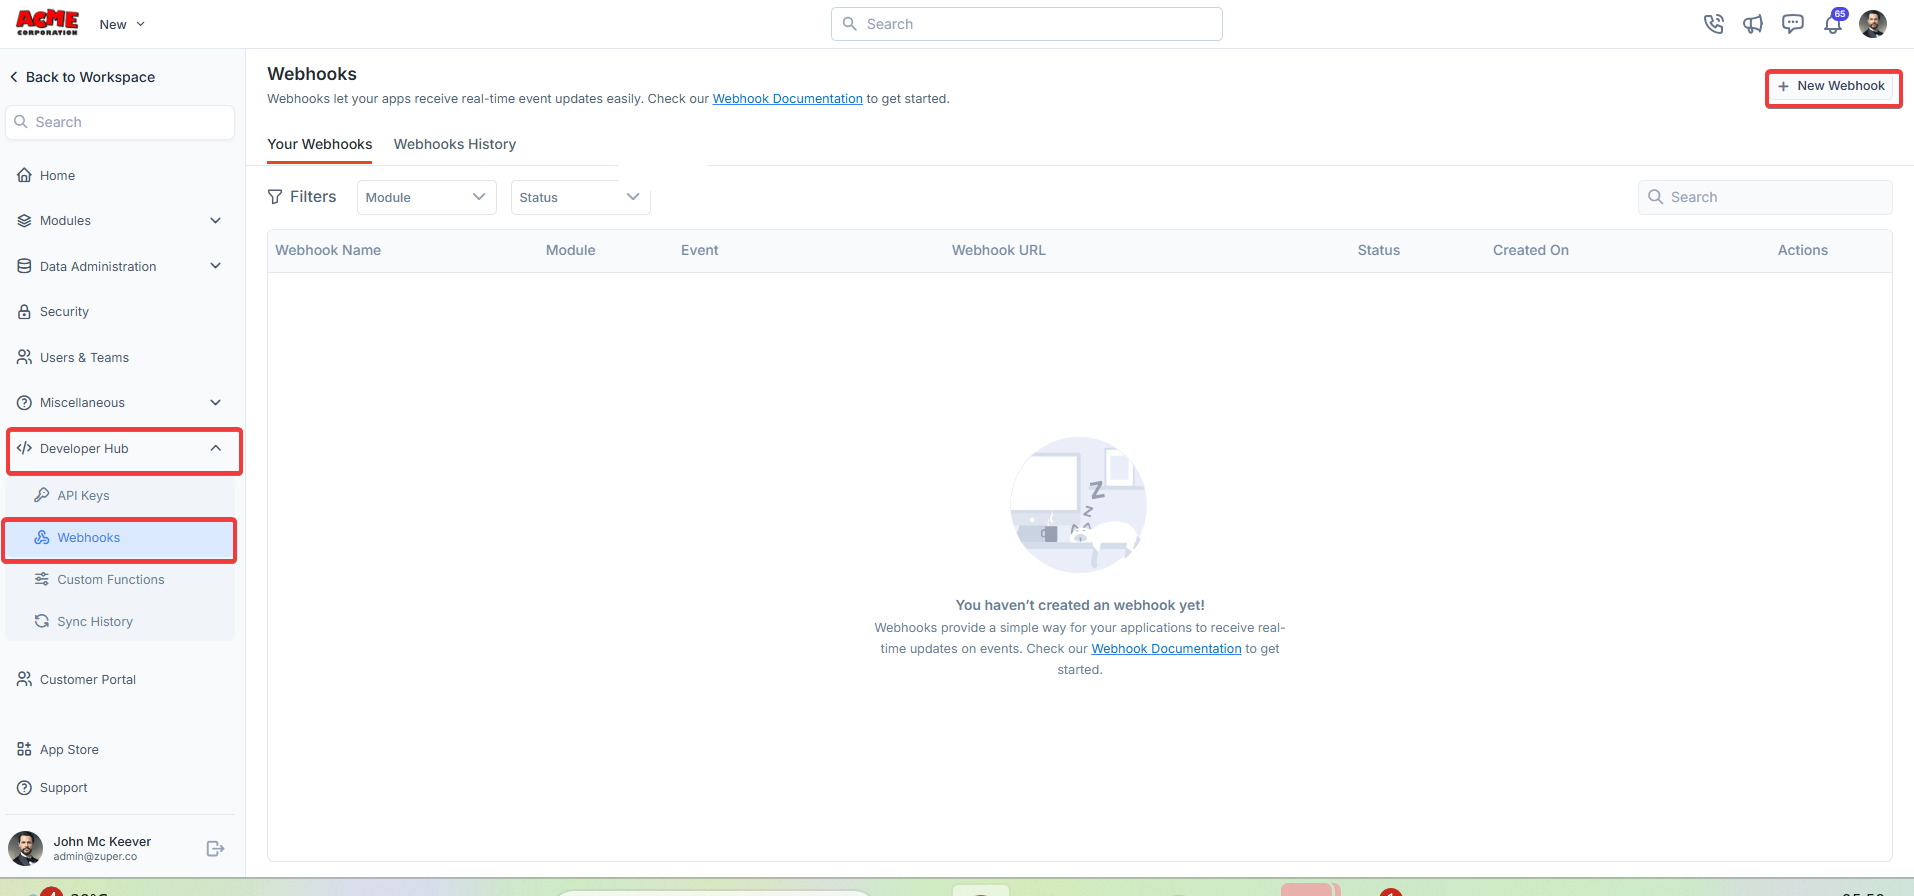
- Create a new webhook by filling in the following details:
- Webhook Name (Mandatory) - Enter the unique name for the webhook.
- Module (Mandatory) - Choose the applicable module.
- Webhook Event (Mandatory) - Choose the applicable webhook’s event.
- Request Method and Request URL - Choose the applicable method: POST, GET, PUT, and DELETE. A webhook request URL is the unique URL provided by a service or application that allows another application to send data directly to it.
- Headers - Add the key and the respective values.
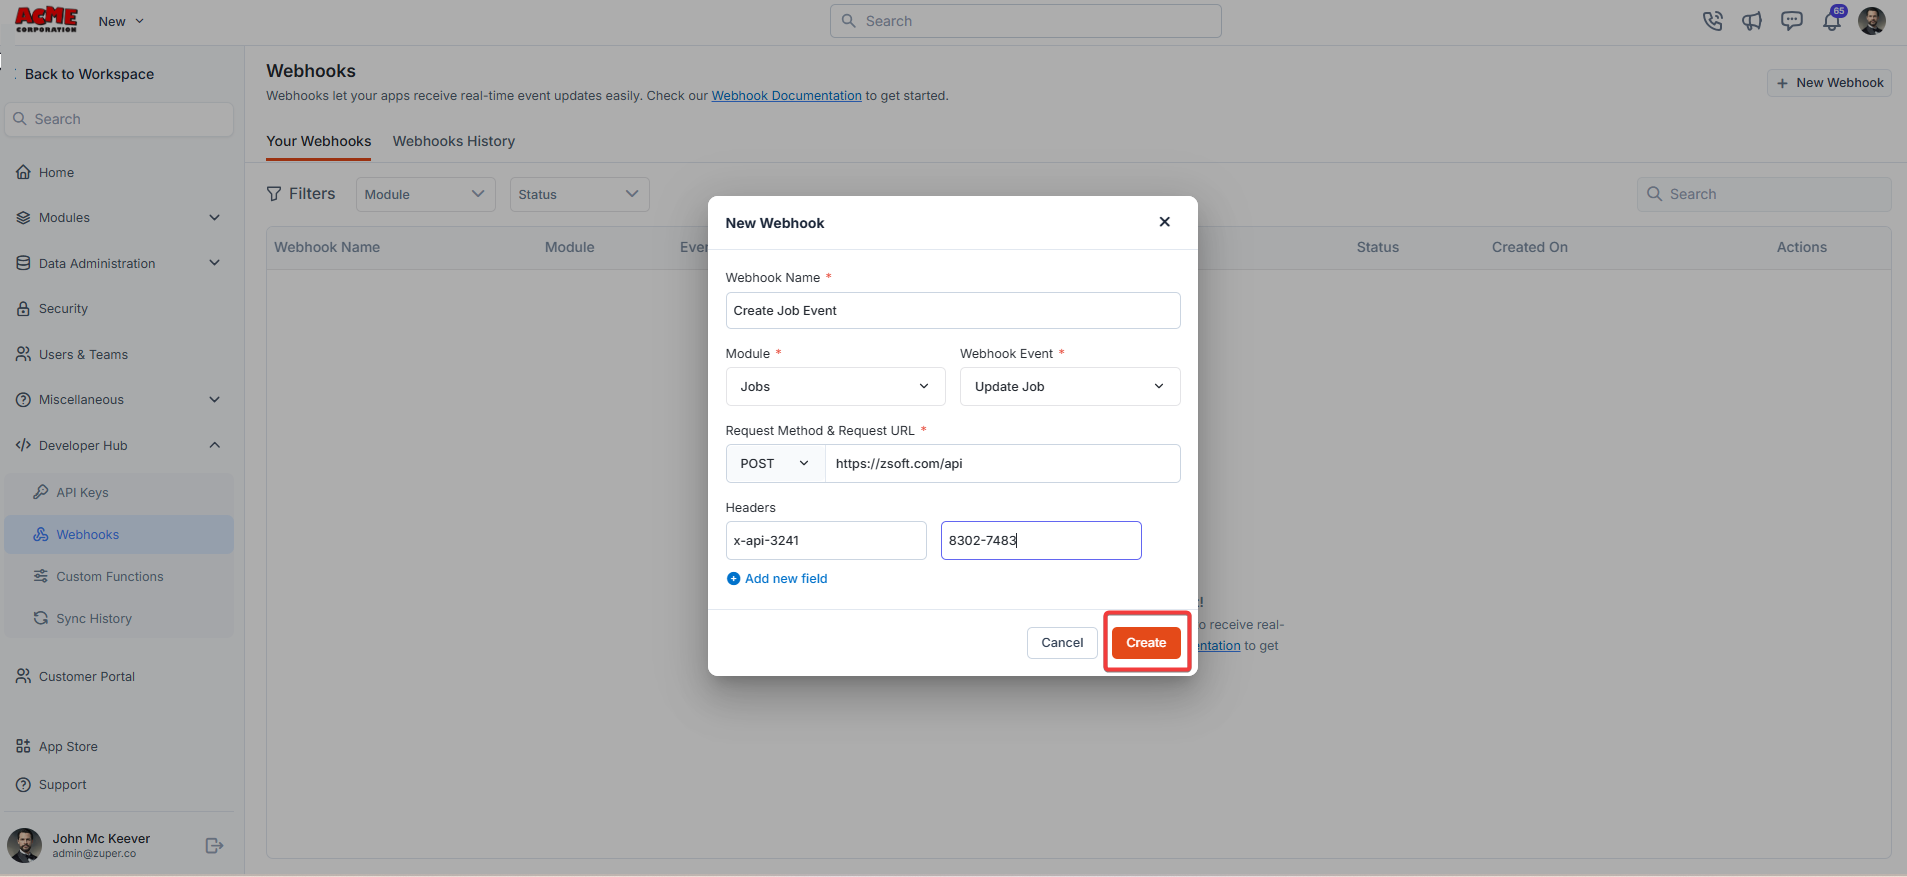
Click “Create” to add the new webhook.
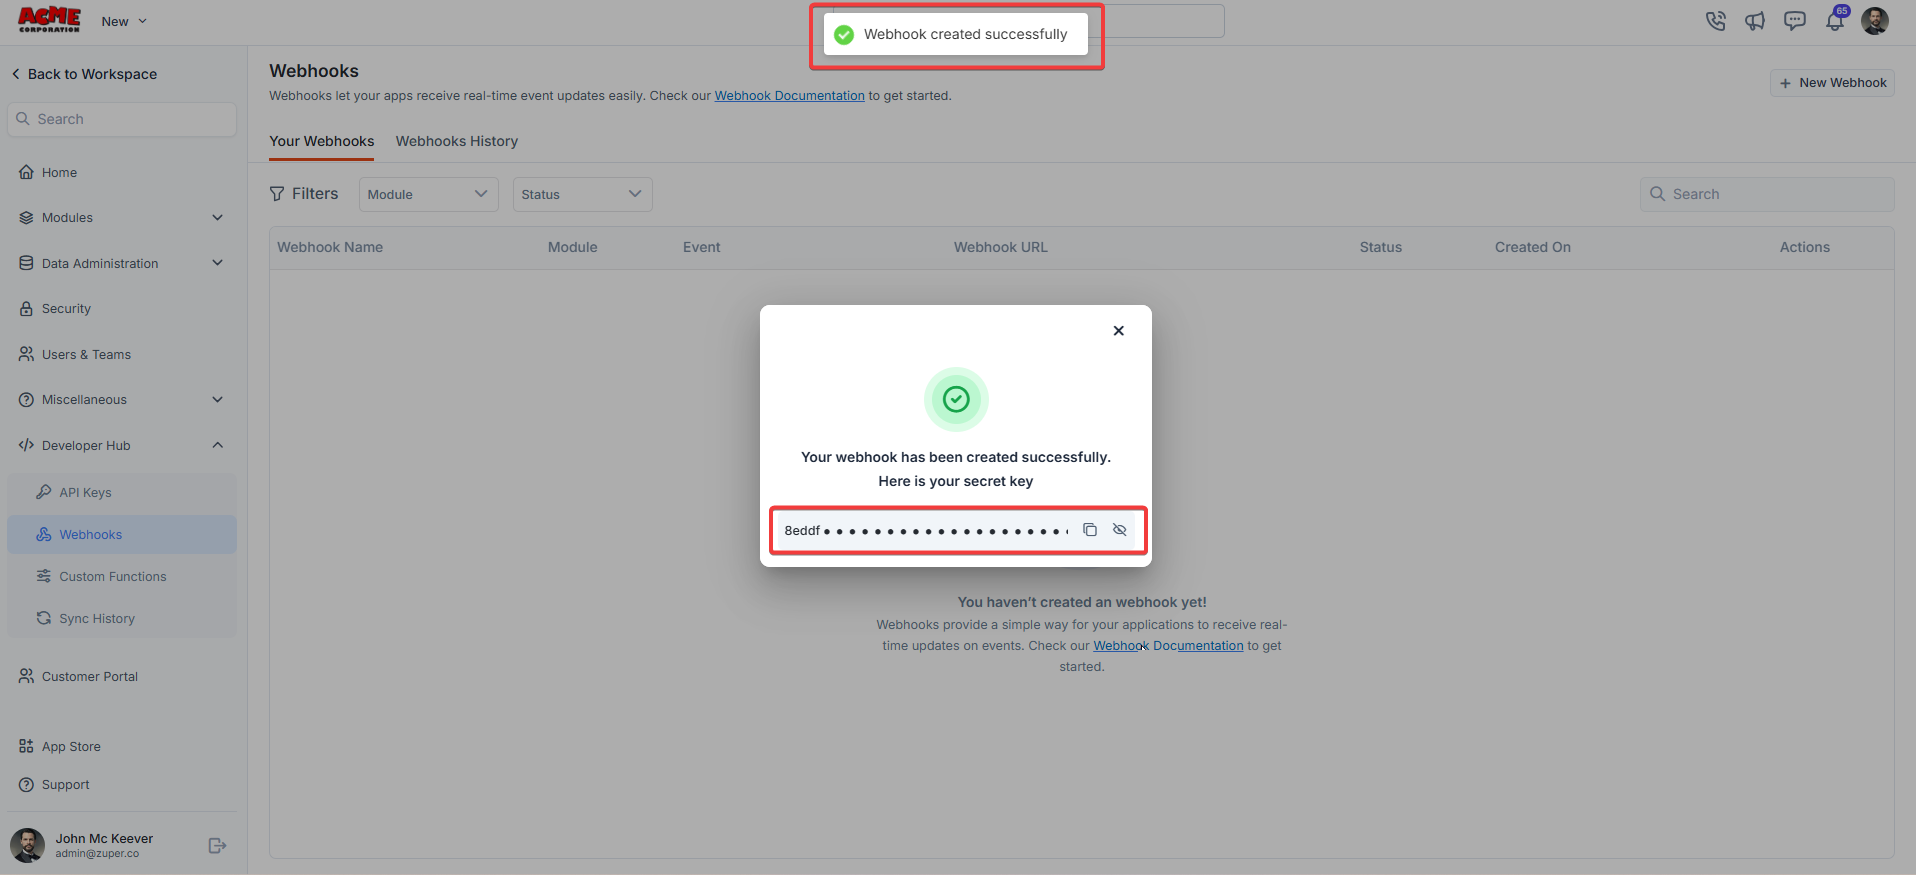
- The new webhook secret key is generated successfully.
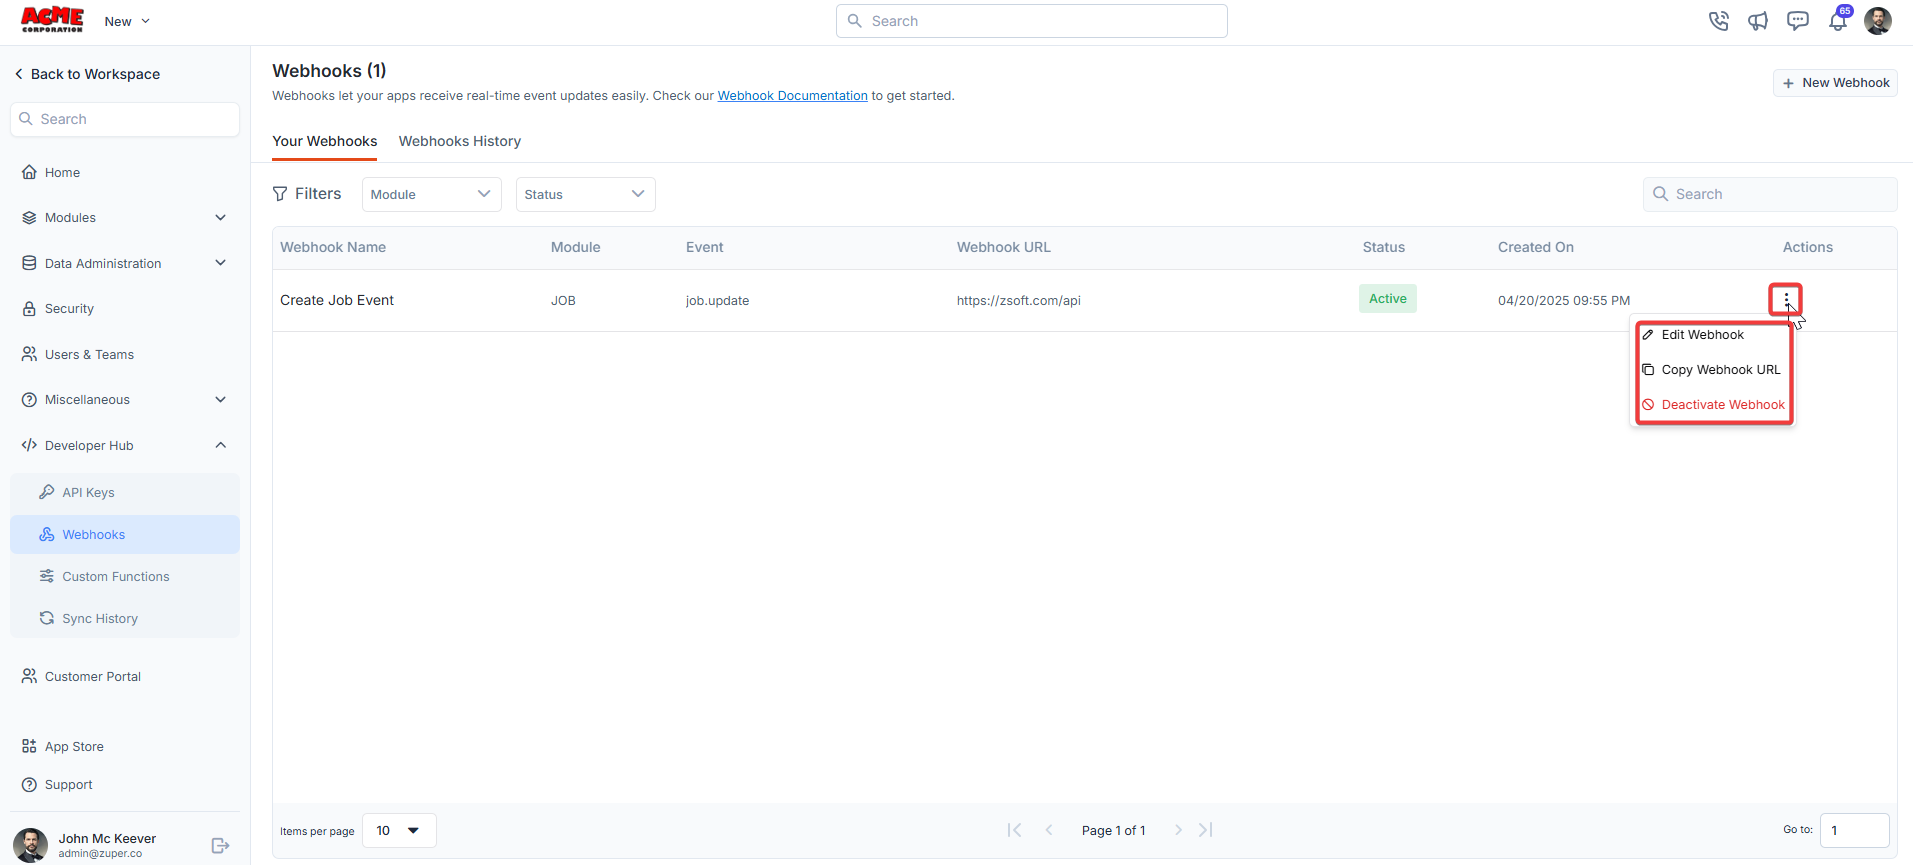
- Click icon to Edit Webhook, Copy Webhook URL, and Activate/Deactivate Webhook.
- Click “Webhook History” to view the list of webhook executions.
Automatic webhook deactivation
A webhook works only when the system receiving it is ready to accept data. That receiving system listens at an endpoint, which is the request URL you entered when you created the webhook. If the endpoint goes offline, moves to a new address, or starts rejecting requests, every event Zuper sends to it fails. Over time, these failures fill your Webhook History and can hide the fact that your integration has stopped working. To protect your integrations, Zuper automatically deactivates a webhook that fails consistently. Think of it like a circuit breaker in your home. When something keeps going wrong, the breaker trips, so you can fix the cause before you switch the power back on. After you resolve the issue at your endpoint, you can reactivate the webhook in a few steps.When Zuper deactivates a webhook
Zuper checks the delivery results of your webhooks once a day. During each check, Zuper deactivates any webhook that meets either of the following conditions.Zuper counts each event as one delivery attempt, however many times it retries that event. If a retry later succeeds, the event counts as delivered. Because both conditions require every attempt to fail, a single successful delivery during the period keeps the webhook active.
What happens after deactivation
When Zuper deactivates a webhook, its status changes to Inactive on the Webhooks page. At the same time, Zuper sends an email to the user who created the webhook, so the person who set up the integration knows to investigate. Zuper then stops sending events to that endpoint until you reactivate the webhook.Reactivate a webhook
Before you reactivate a webhook, review its failed deliveries in Webhook History and fix the cause at your endpoint. Once your endpoint is ready, follow these steps.- Go to Settings, then select Developer Hub.
- Select Webhooks.
- Find the webhook that shows the Inactive status.
- Select the icon next to the webhook.
- Select Activate Webhook.
The status changes to Active, and Zuper resumes sending events to your endpoint.
Webhooks linked to Workflow Builder
When you create a webhook through Workflow Builder, it stays linked to the workflow that created it. Because of this link, the webhook status follows the workflow status, as the following table shows.To keep the workflow and its webhook in sync, activate or deactivate workflow-linked webhooks from Workflow Builder, not from the Webhooks page.
- Ensure your Request URL is publicly accessible and can handle the specified HTTP method.
- Use headers to include authentication tokens or other metadata as needed.
- Test your webhook configuration to confirm it receives events correctly.