Notes
The Notes and Chats sections on a job record keep your team aligned without switching to another tool. Use Notes to record field observations, maintenance summaries, safety instructions, or follow-up actions — all stored alongside the job for full context and traceability. Use Chats to send real-time messages between back-office staff and field technicians. Notes support rich text formatting, voice-to-text input, file attachments, linked records, and privacy controls. This article covers every feature of the Notes and Chats experience.Accessing notes on a Job
- Click “Notes” on the left panel to add the notes. You can use the rich text editor to enter the note details.
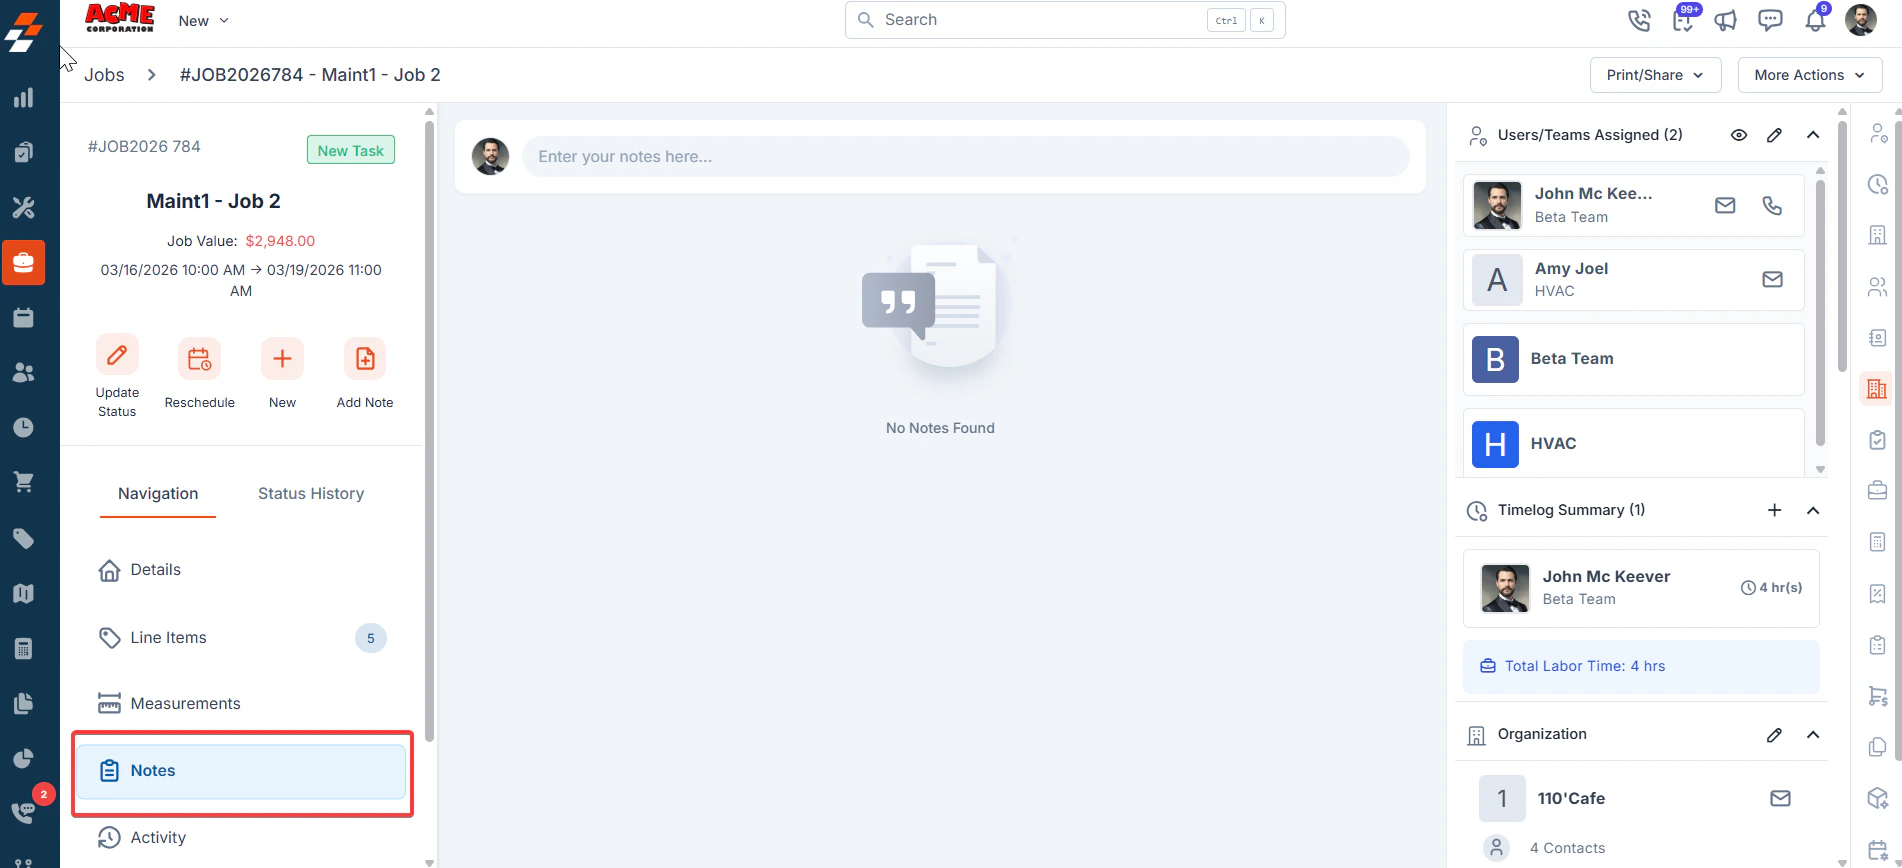
- Click the ‘Enter your notes here…’ text field at the top of the Notes area and add the Notes. This opens the New Note editor dialog.
Available Content Types
Available Content Types
Click the ”+” button to choose the available content types:TextInserts a standard paragraph block. Use this for general descriptions, instructions, or any freeform content.HeadingInserts a large heading block. Useful for organizing notes with clear section titles (e.g., ‘Maintenance’, ‘Findings’, ‘Next Steps’).Unordered ListInserts a bulleted list. Use this for items that don’t need a specific order — such as a list of parts checked or observations made.Ordered ListInserts a numbered list. Use this for step-by-step instructions or prioritized action items.ChecklistInserts a checklist with checkboxes. Ideal for to-do items, pre-service checklists, or task tracking within a note.TableInserts a structured table. Use this to organize data in rows and columns, such as measurements, equipment specs, or comparison data.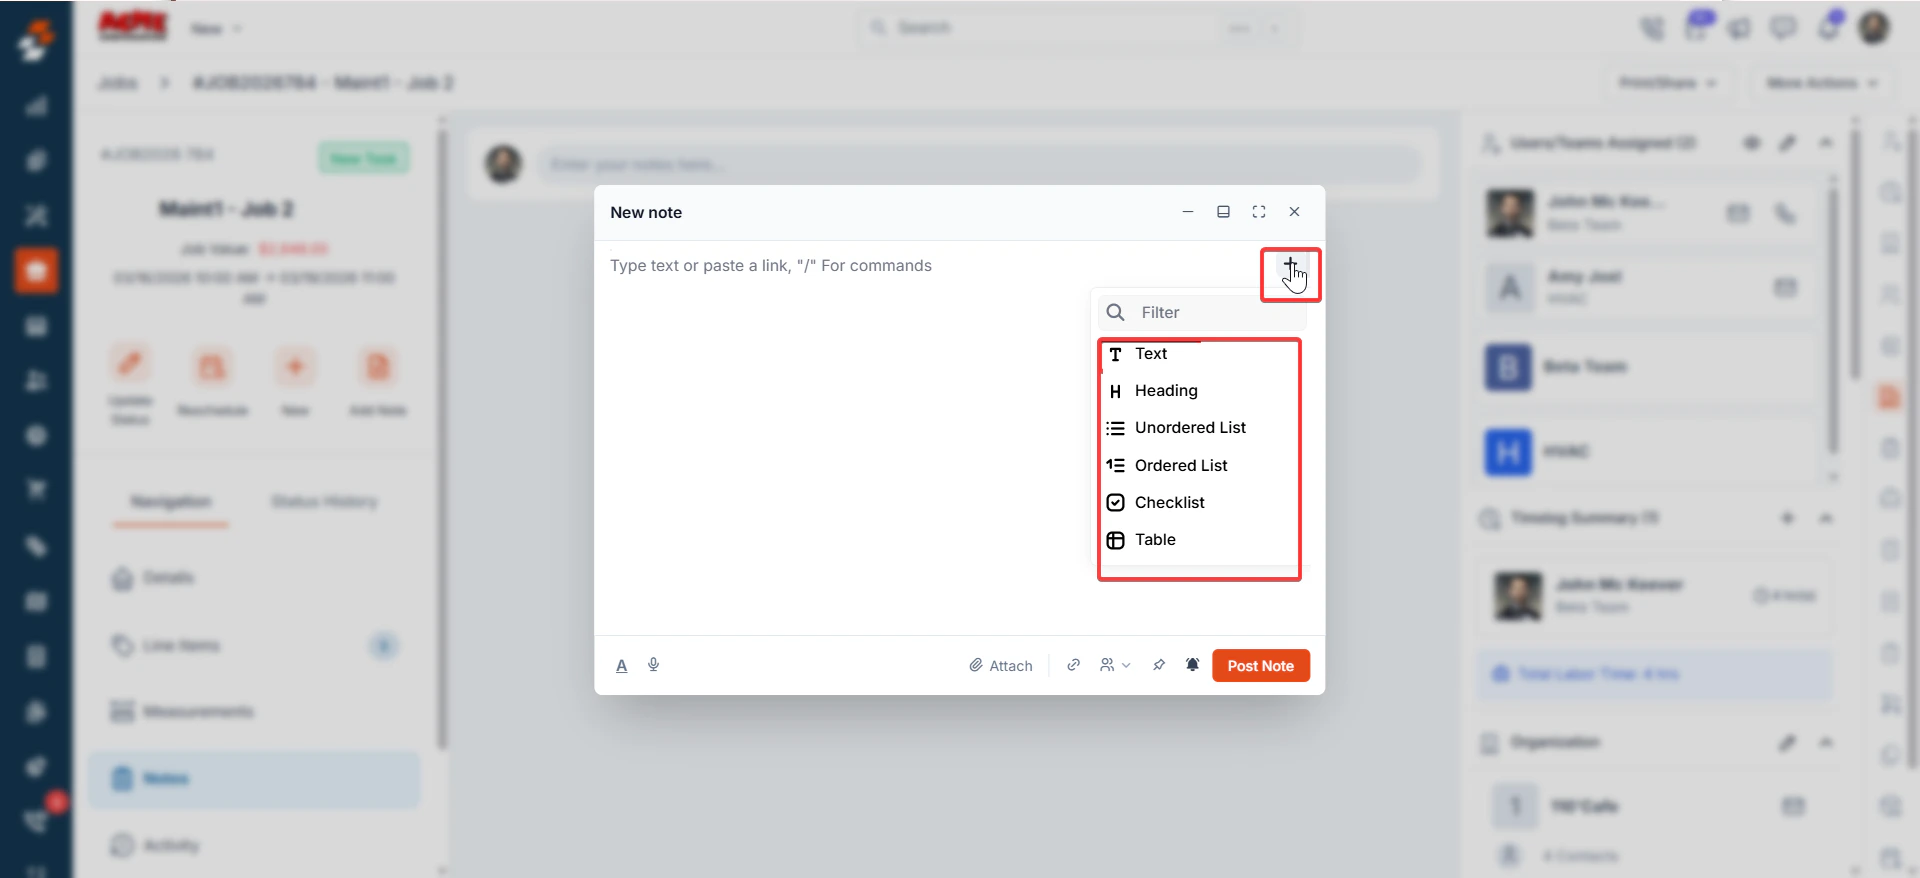
Note: You can also type ’/’ directly in the note editor to trigger the content type command menu without using the + button.
Block-Level actions (convert, move, delete)
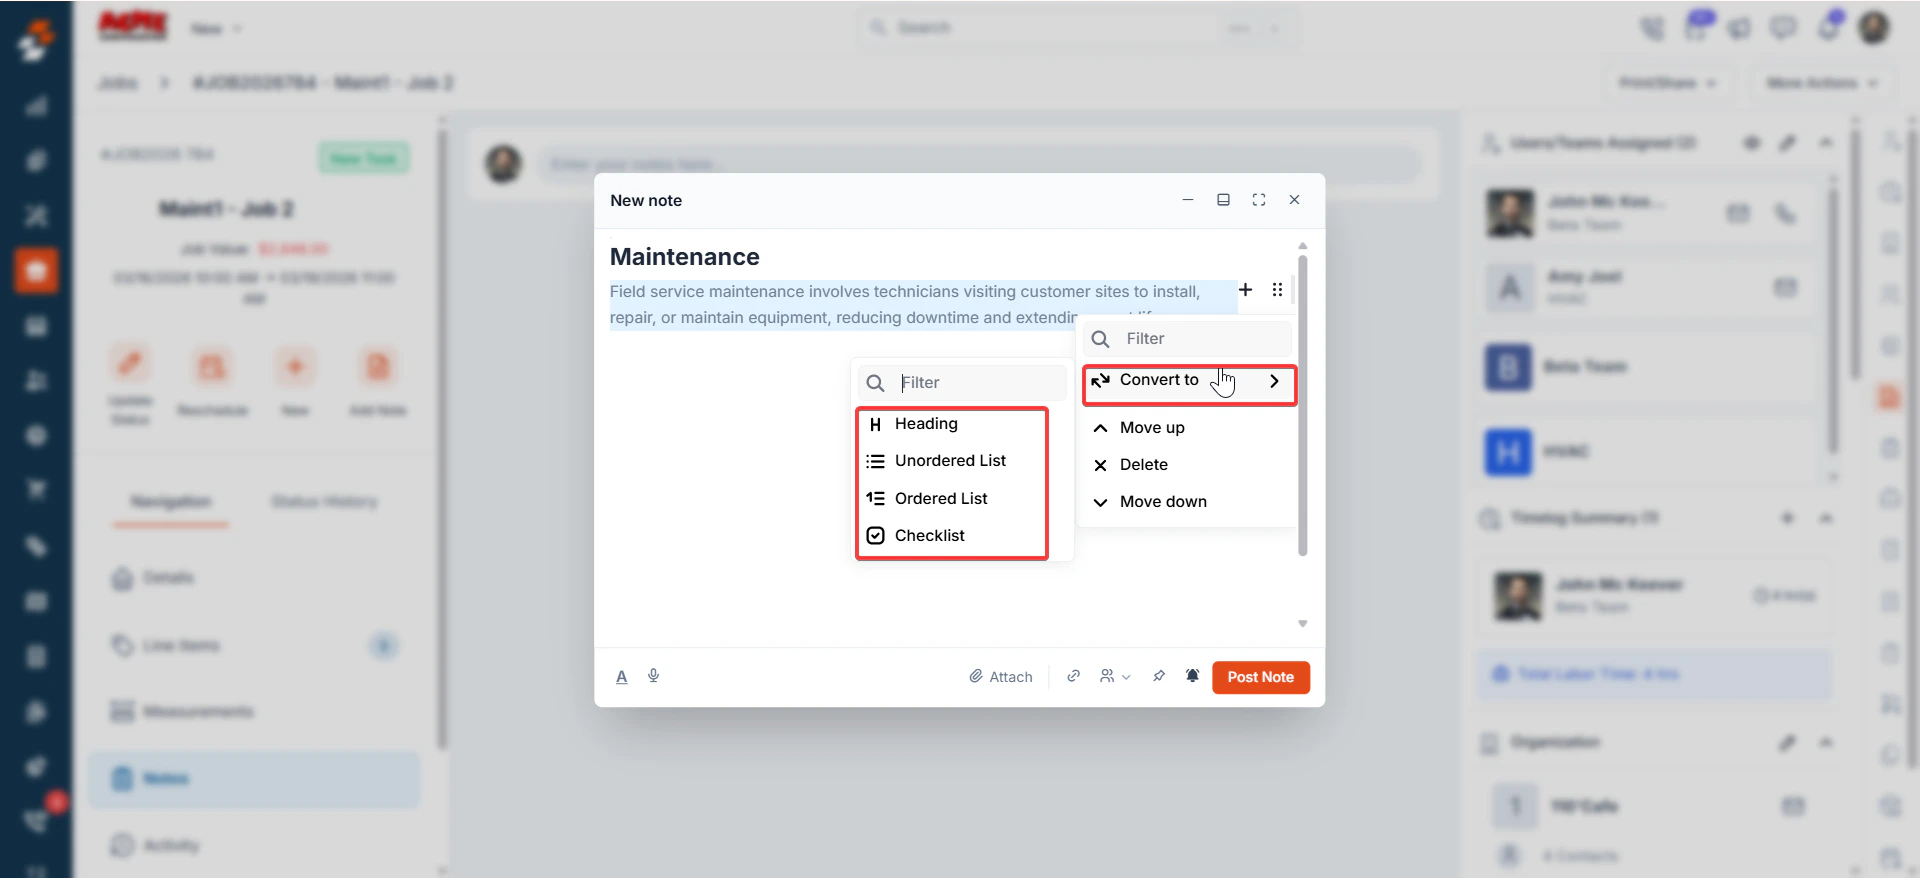
Once a content block has been added, hover over it to reveal two action icons on the right: Adds a new block immediately after this one — + (Plus icon) Opens a context menu with the following actions — (Drag/Options icon)- Convert to — Changes the block type (e.g., from Text to Heading, or from Unordered List to Checklist). A submenu shows the available target types.
- Move up — Moves the current block one position up in the note.
- Delete — Removes the block from the note.
- Move down — Moves the current block one position down in the note.
Inline text formatting
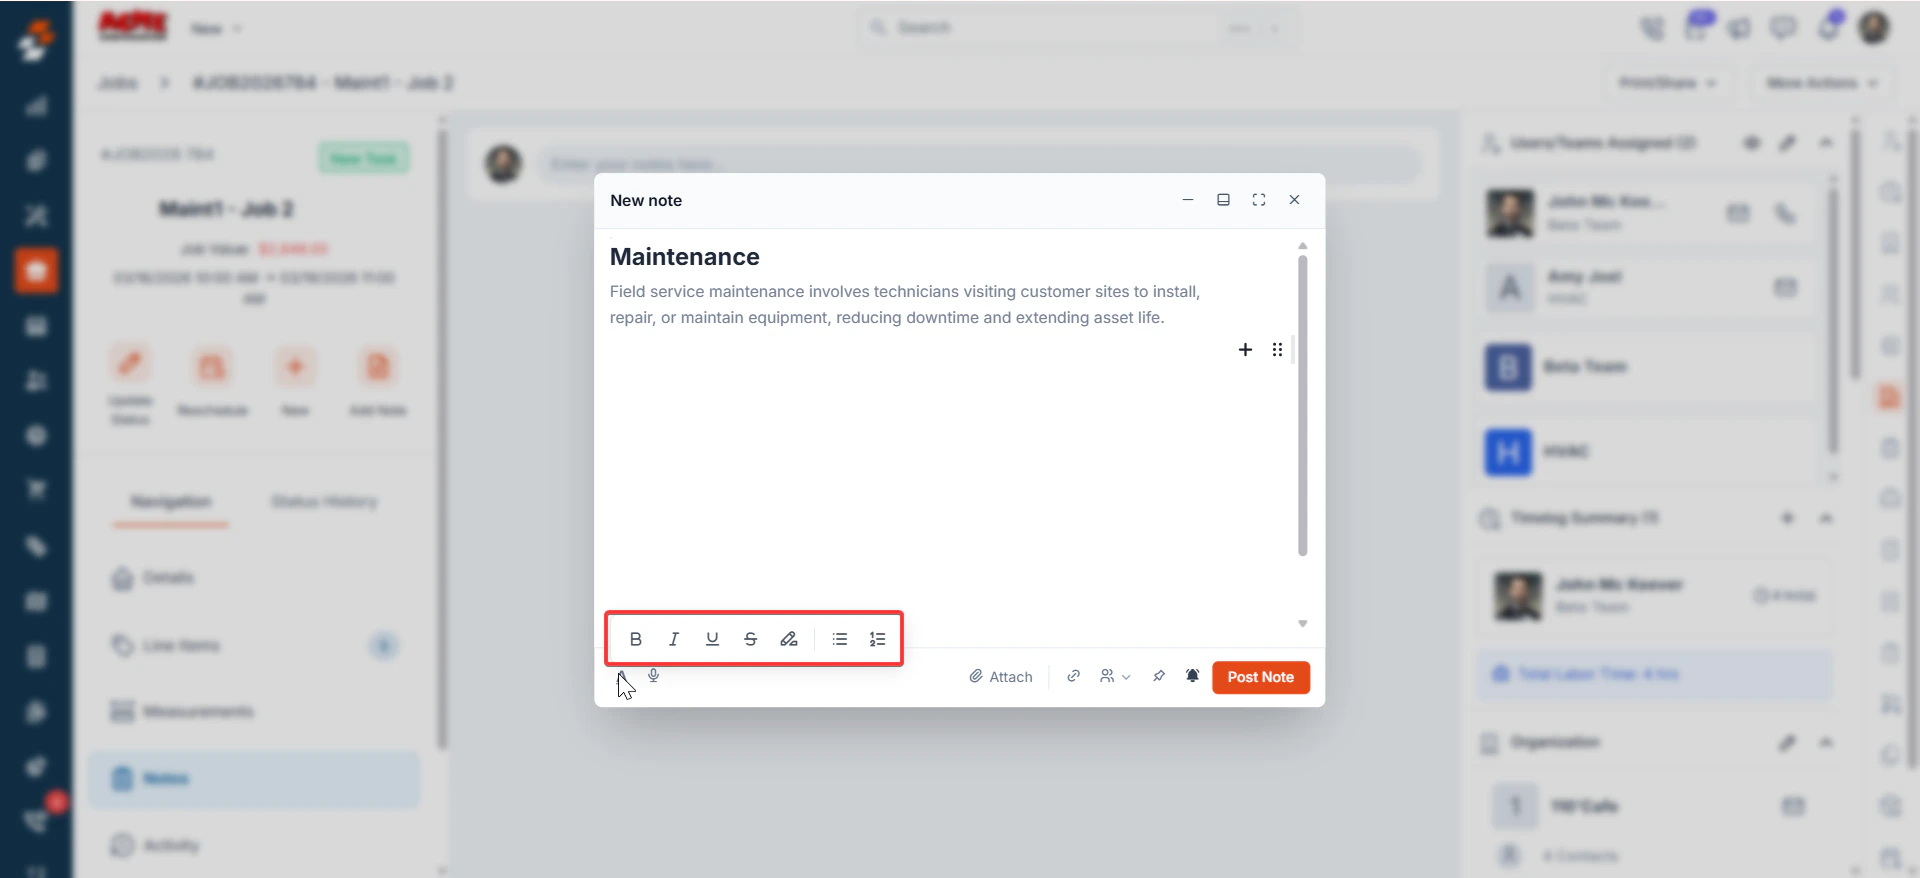
When you select text within any block, a formatting toolbar appears with the following options:- B — Bold
- I — Italic
- U — Underline
- S — Strikethrough
- Link icon — Insert a hyperlink
- Unordered list toggle
- Ordered list toggle
Use voice-to-text
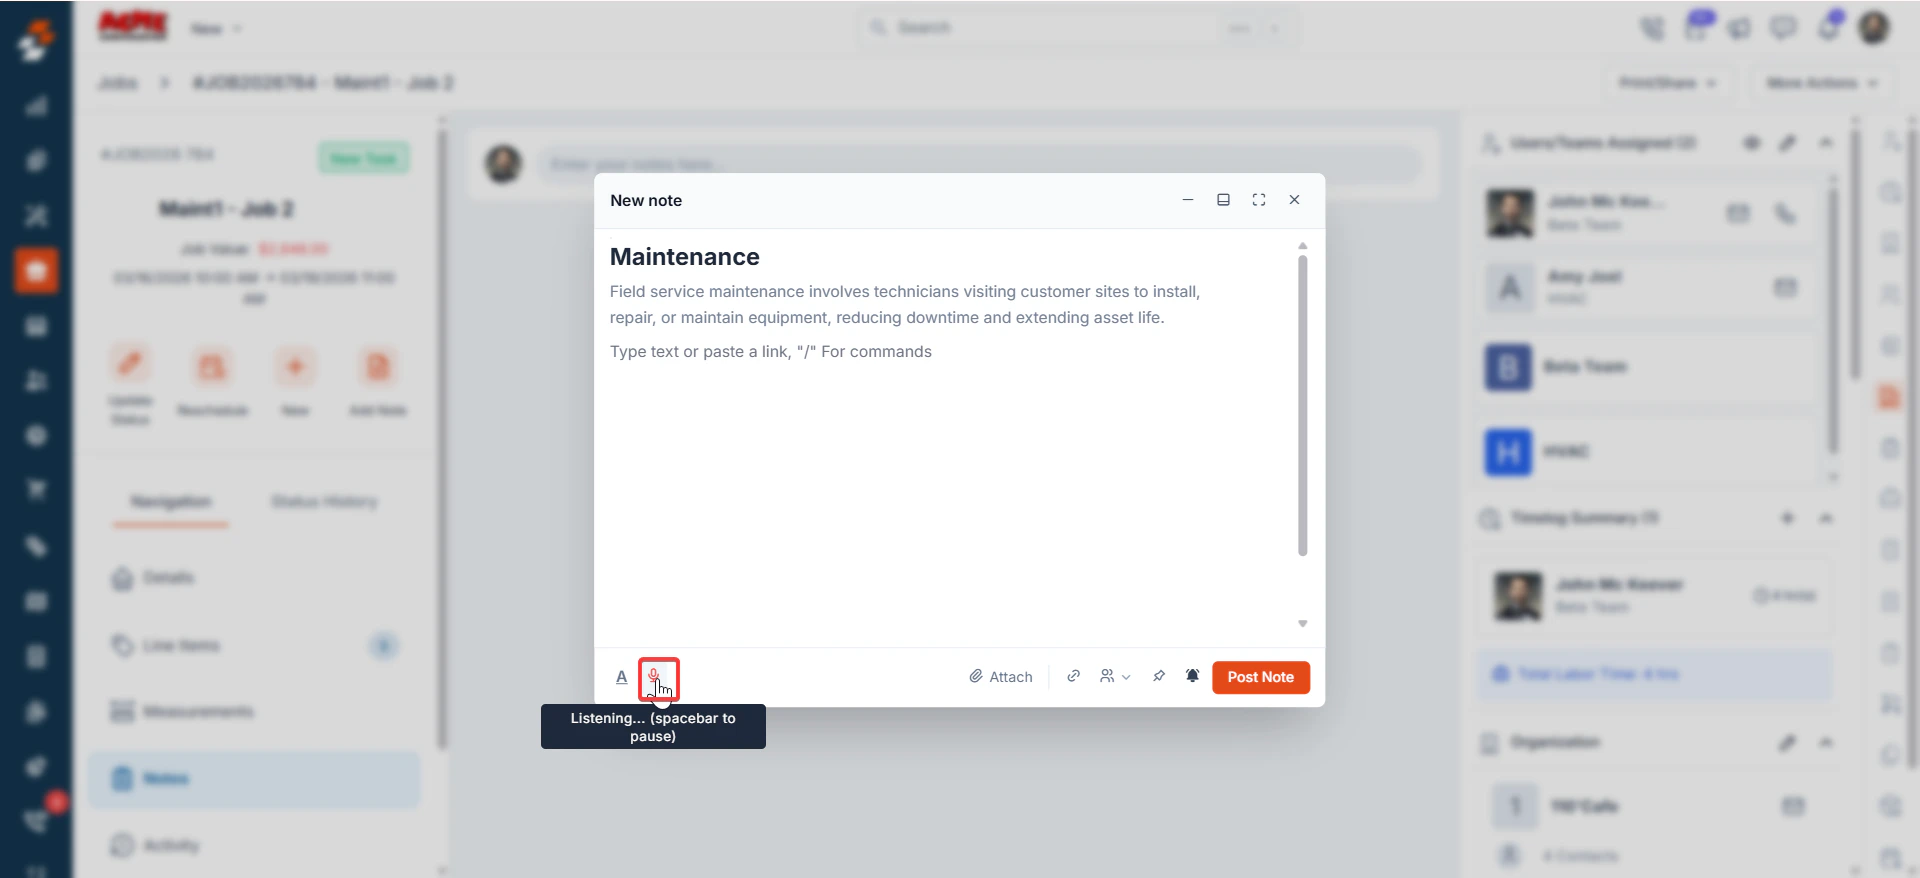
The note editor includes a built-in voice-to-text feature. Select the microphone icon in the editor toolbar to dictate your note hands-free. This is useful for field technicians who cannot type while on site.Your device might prompt you to grant microphone permission the first time you use voice-to-text. Select Allow to proceed.
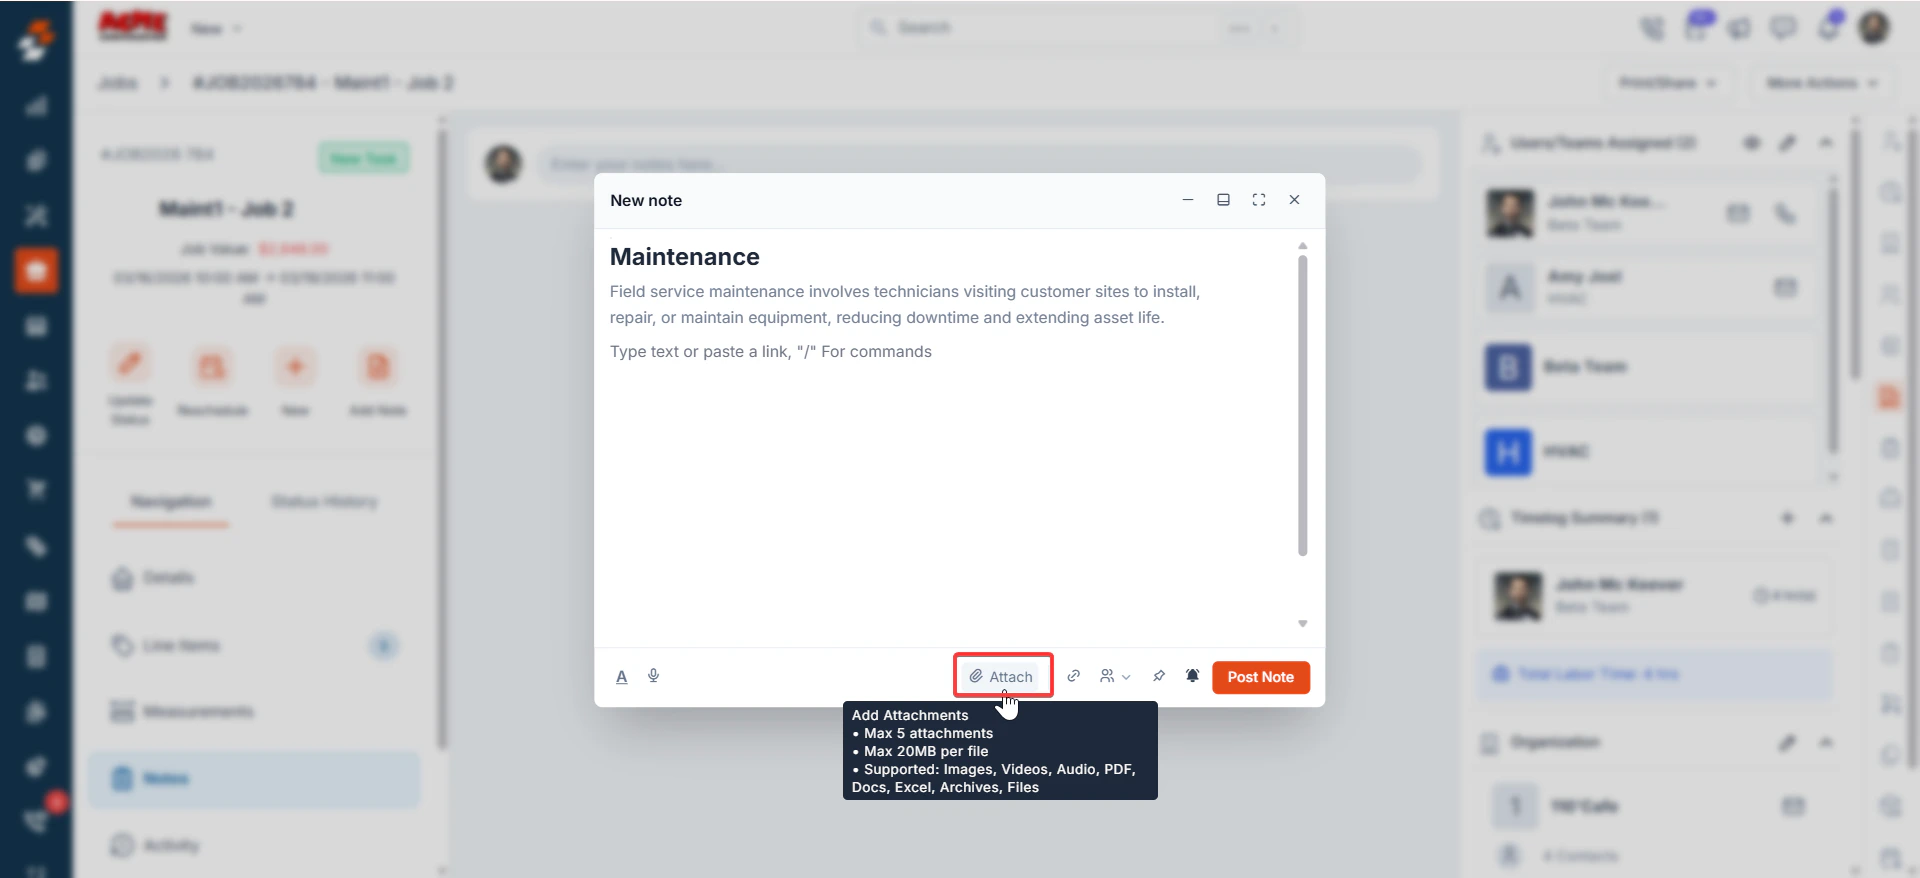
- You can attach supporting files directly to a note before posting it.
- Maximum 5 attachments per note
- Maximum 20 MB per file
- Supported file types: Images, Videos, Audio, PDF, Docs, Excel, Archives, and other Files
- Web
- Mobile
Replying to a note
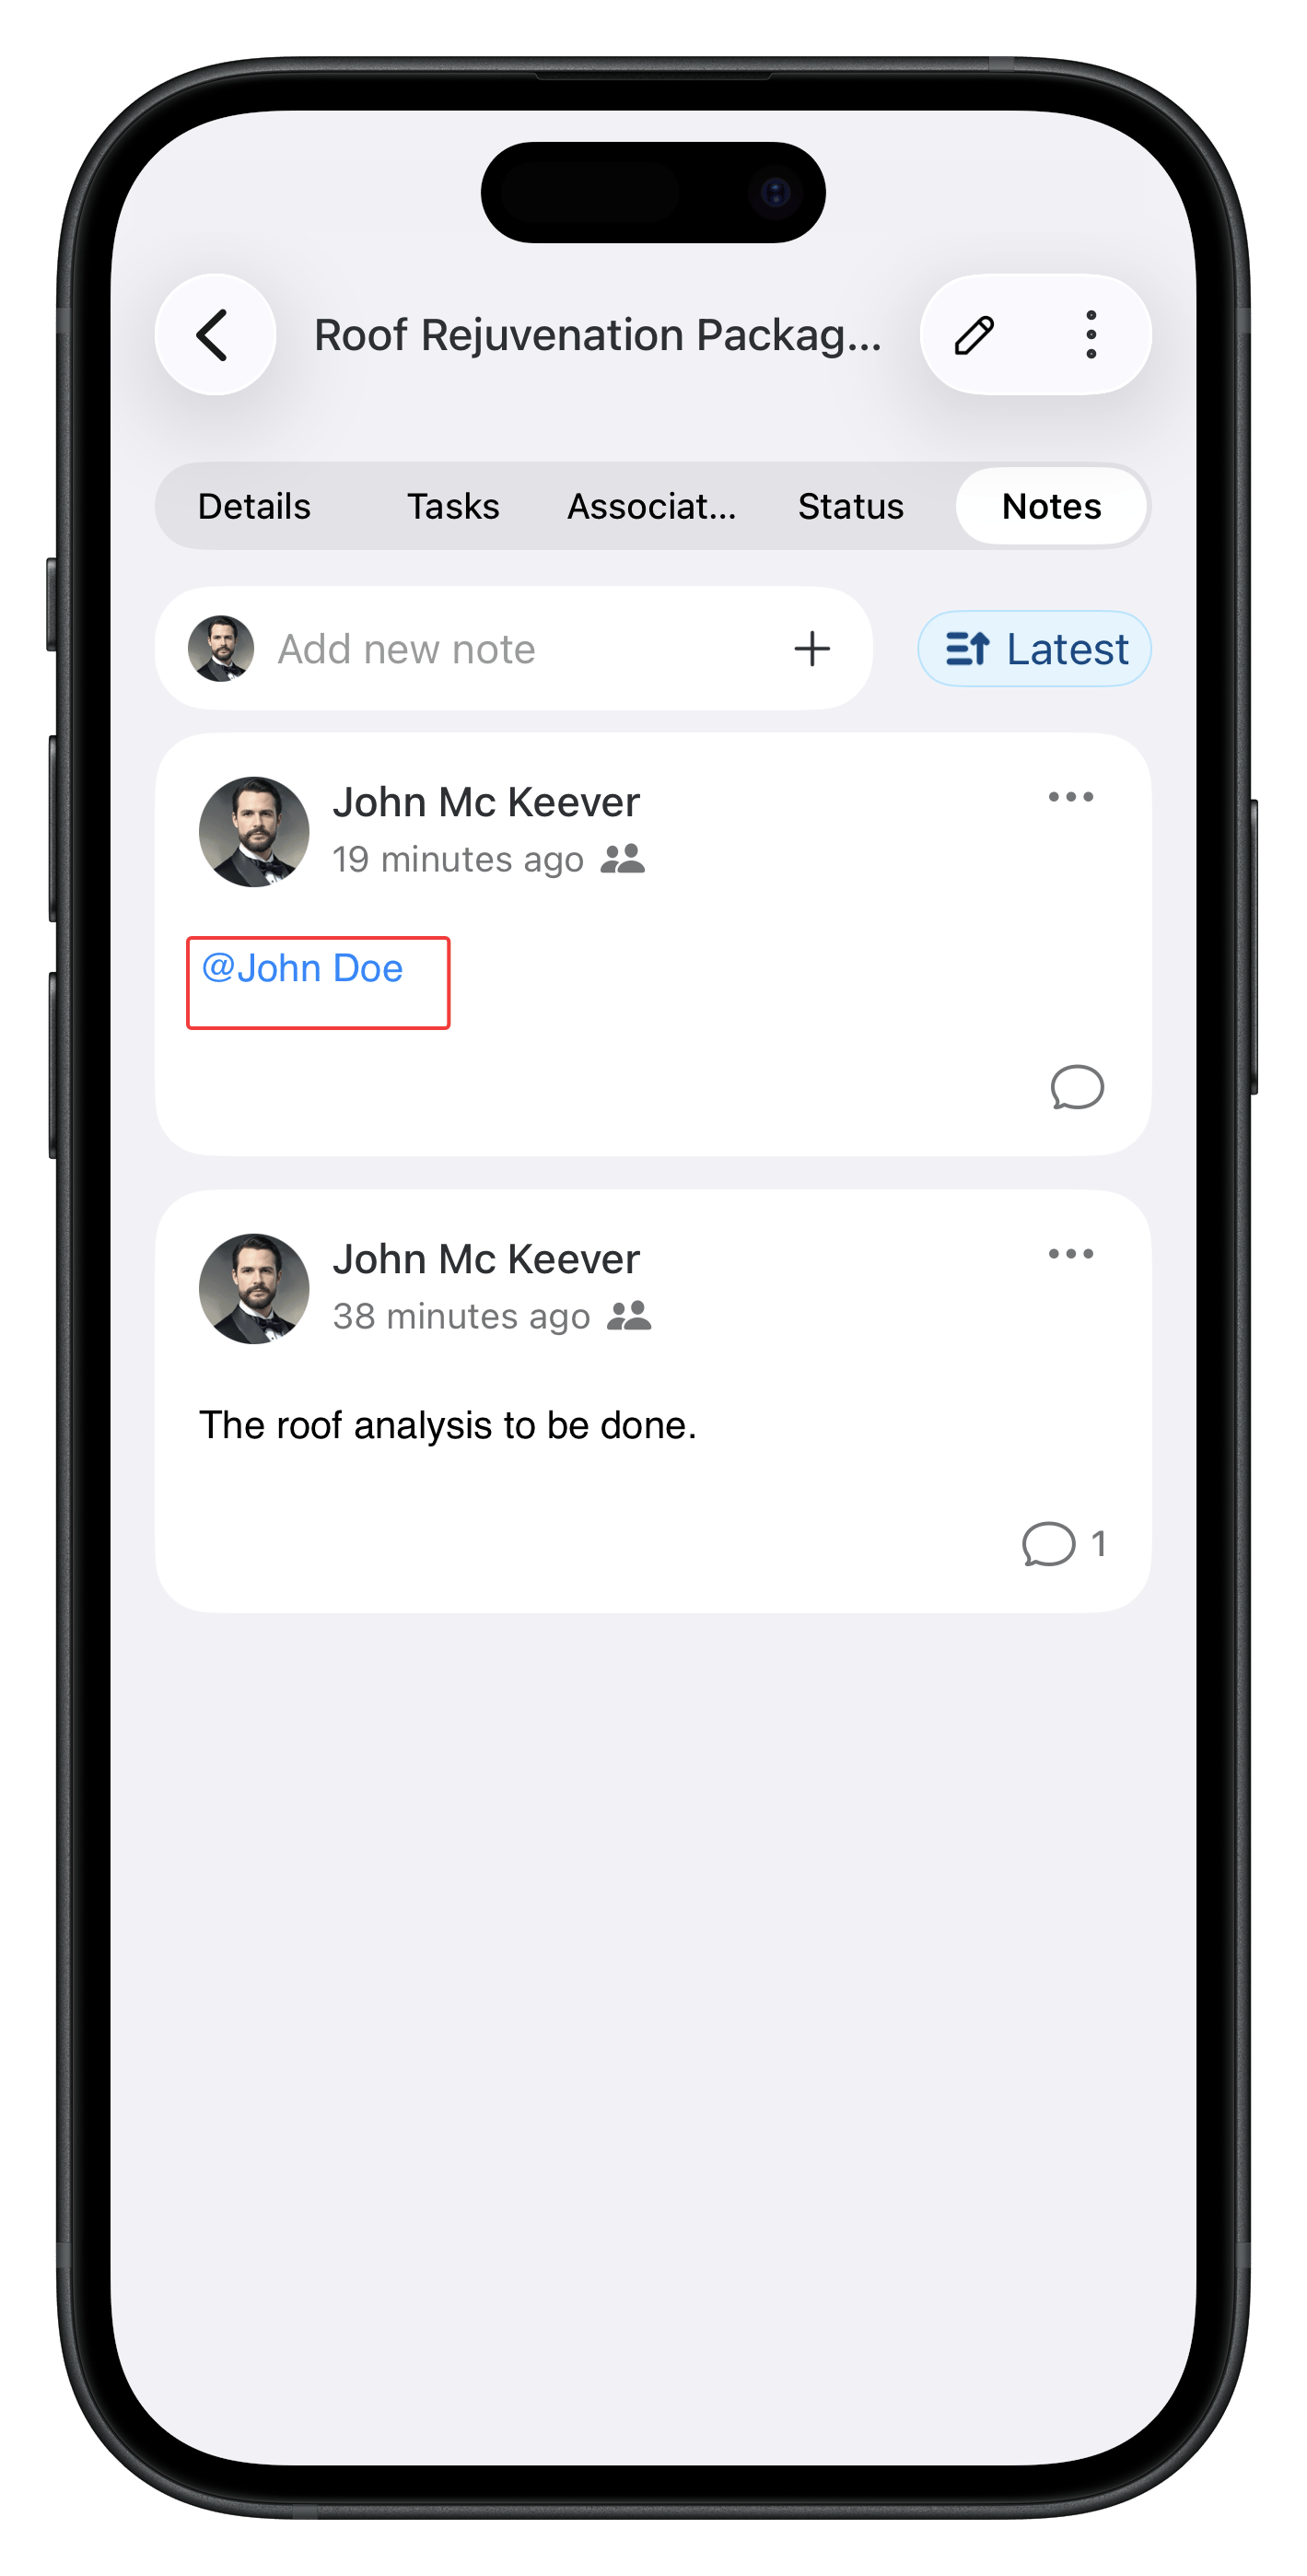
Every reply stays attached to the original note, so the conversation never loses its context within the job. Reply visibility follows the privacy setting of the parent note.- On the note you want to respond to, select Reply. The reply input field appears below the note.
- Enter your reply. To notify a teammate, type @ and select their name from the dropdown.
- Select the Send icon. Your reply appears in the thread beneath the note.
Notifications
The note owner and any teammate you @mention in a reply receive an in-app notification. Selecting the notification takes them directly to the note and the reply.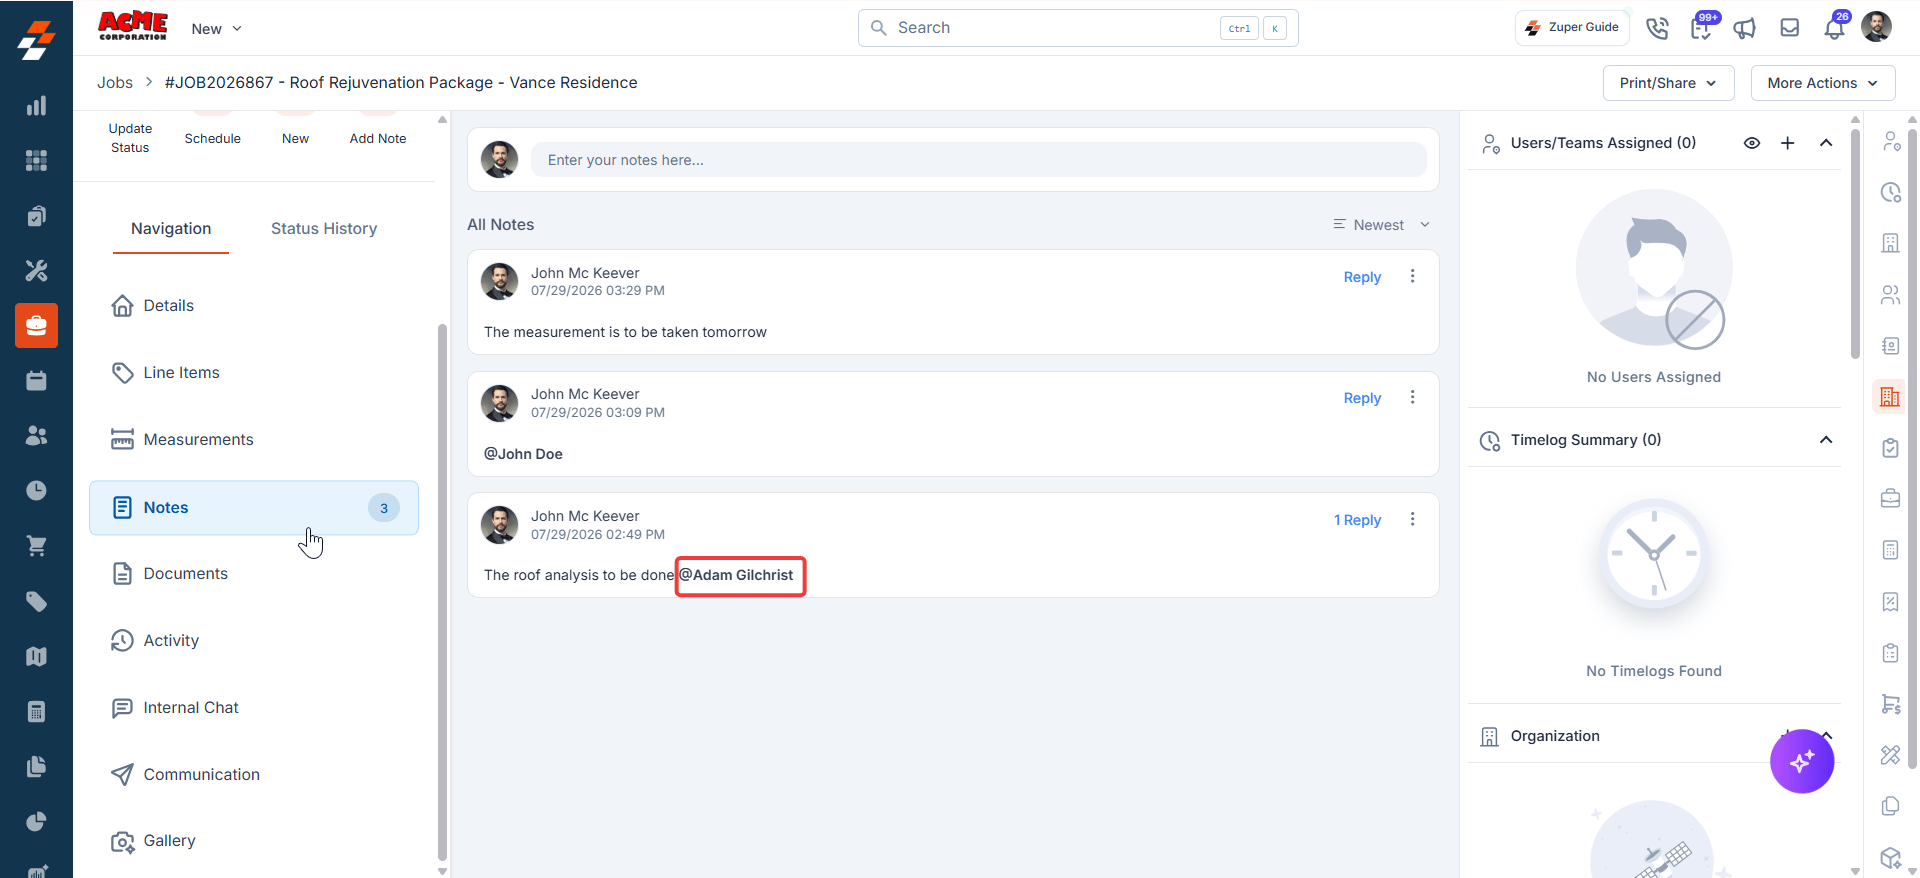
Viewing replies
Notes with one or more replies show a reply count — for example, 1 Reply — on the note card. Select this count to expand the thread and read all responses. To collapse the thread, select the ^ icon at the top right of the replies section.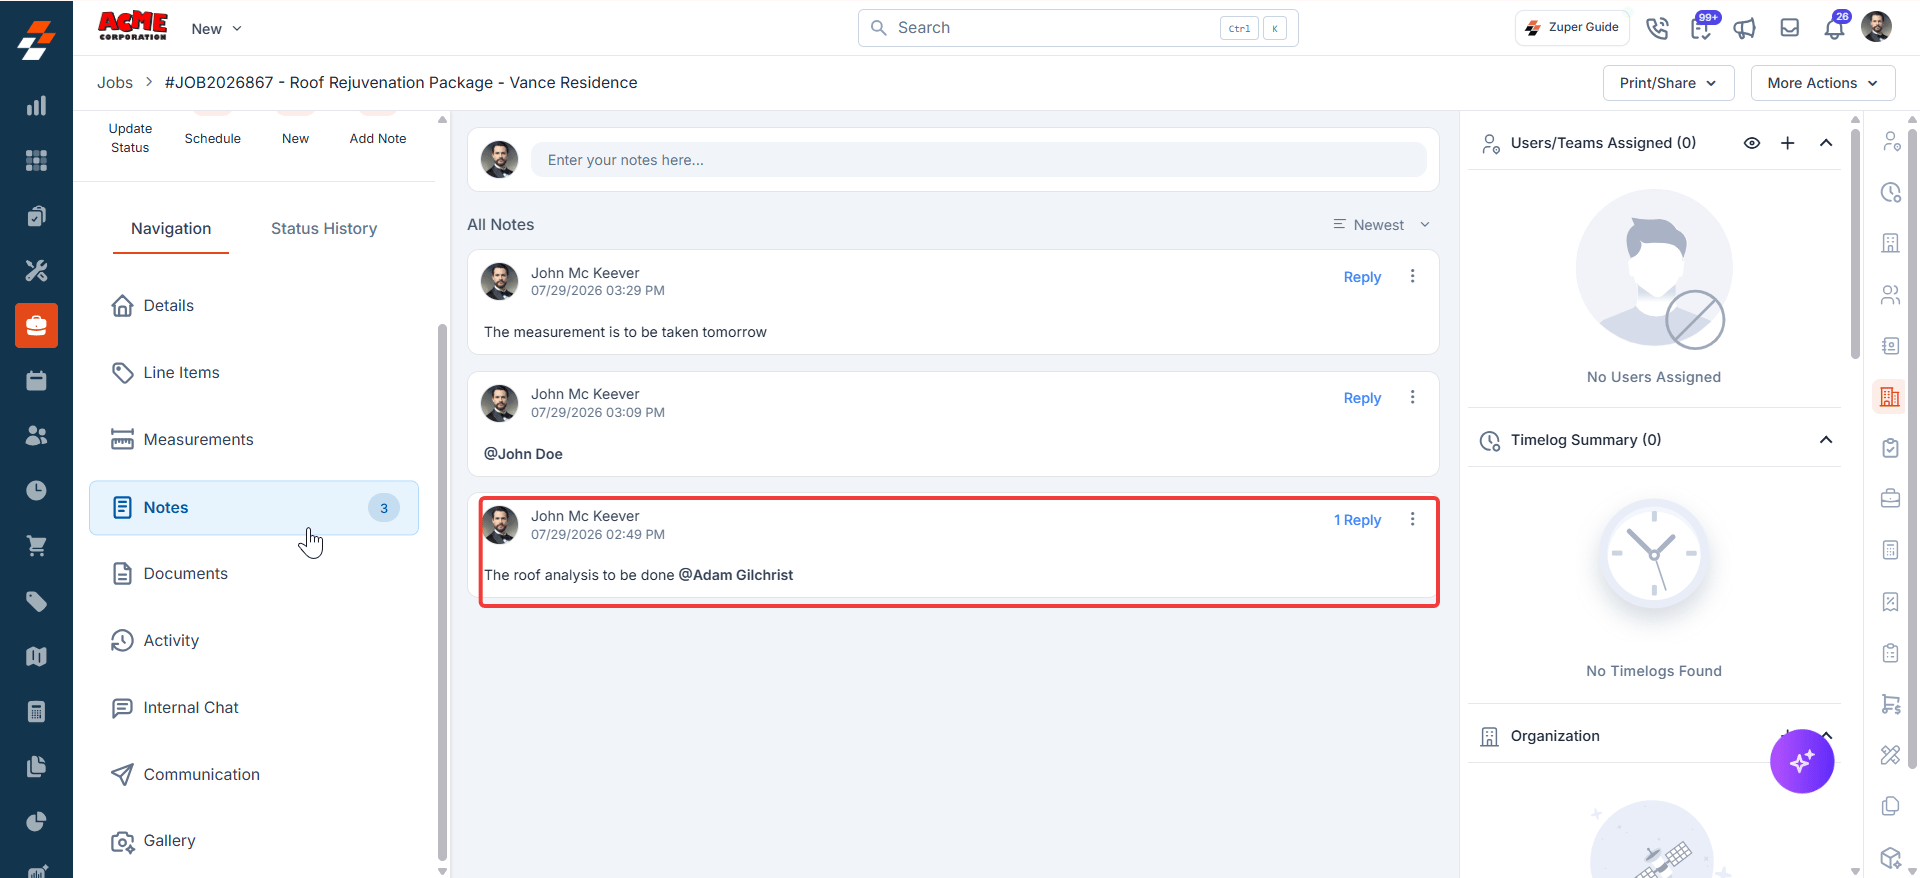
Editing or deleting a reply
To edit or delete a reply, select the (⋮) menu next to your reply and choose Edit or Delete. You can only edit or delete replies you wrote. Admins can delete replies posted by field technicians, but cannot edit them.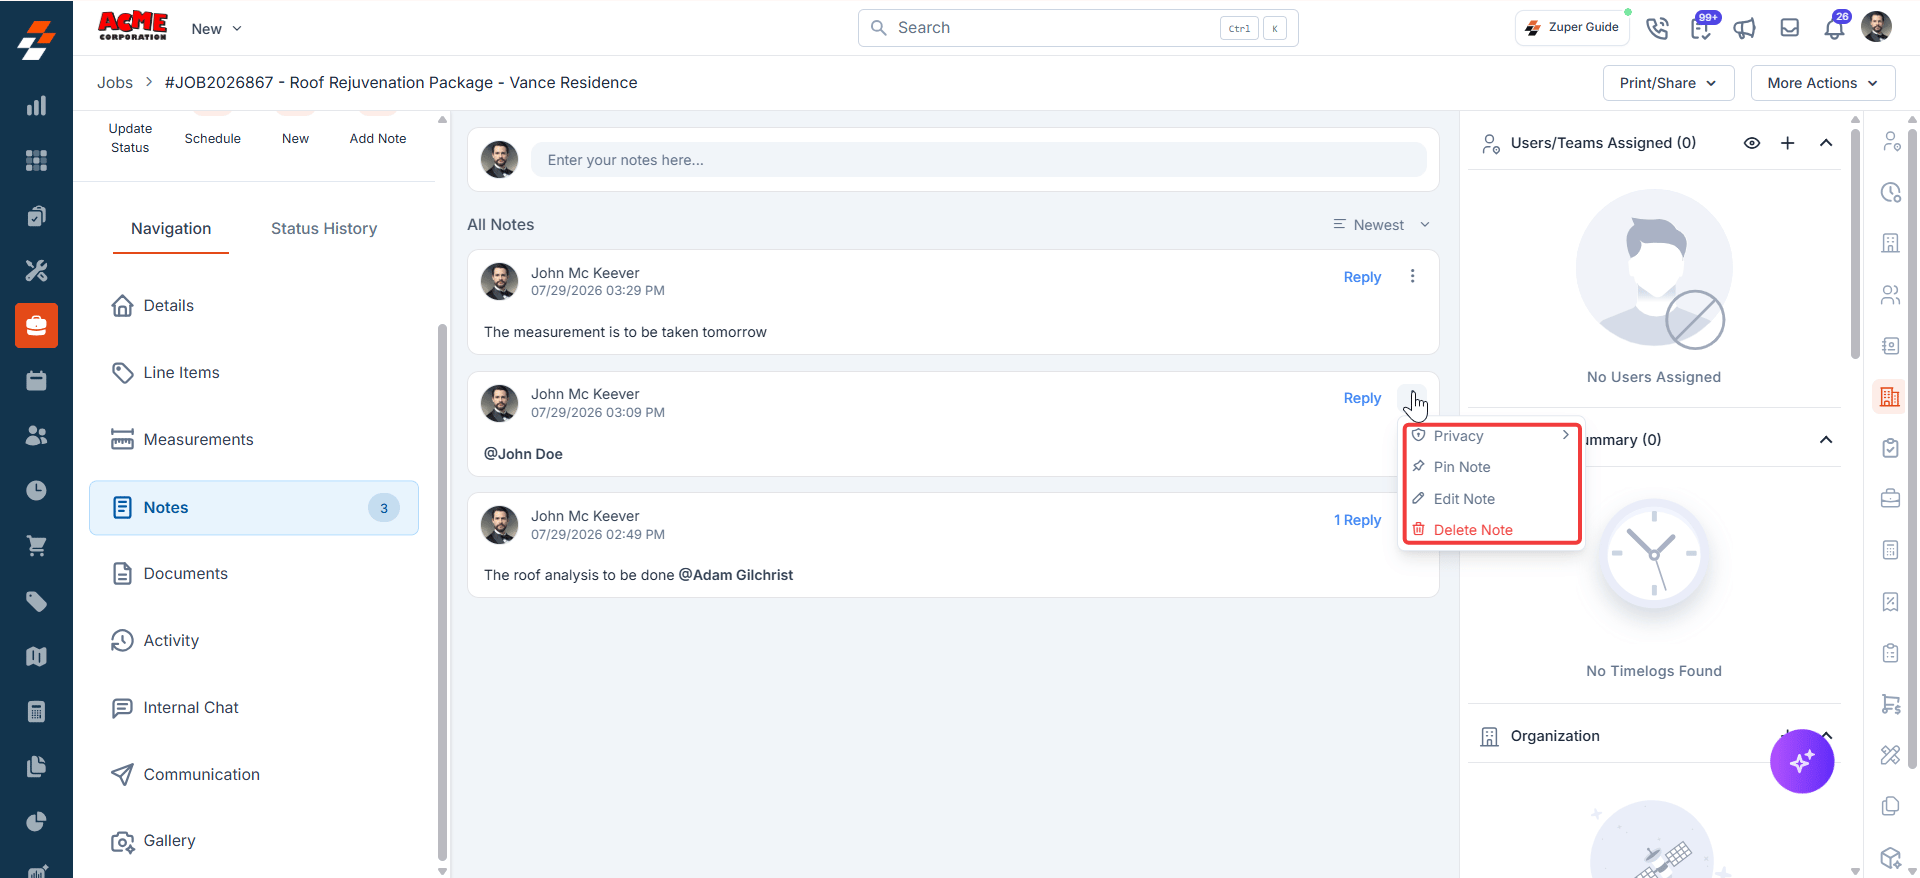
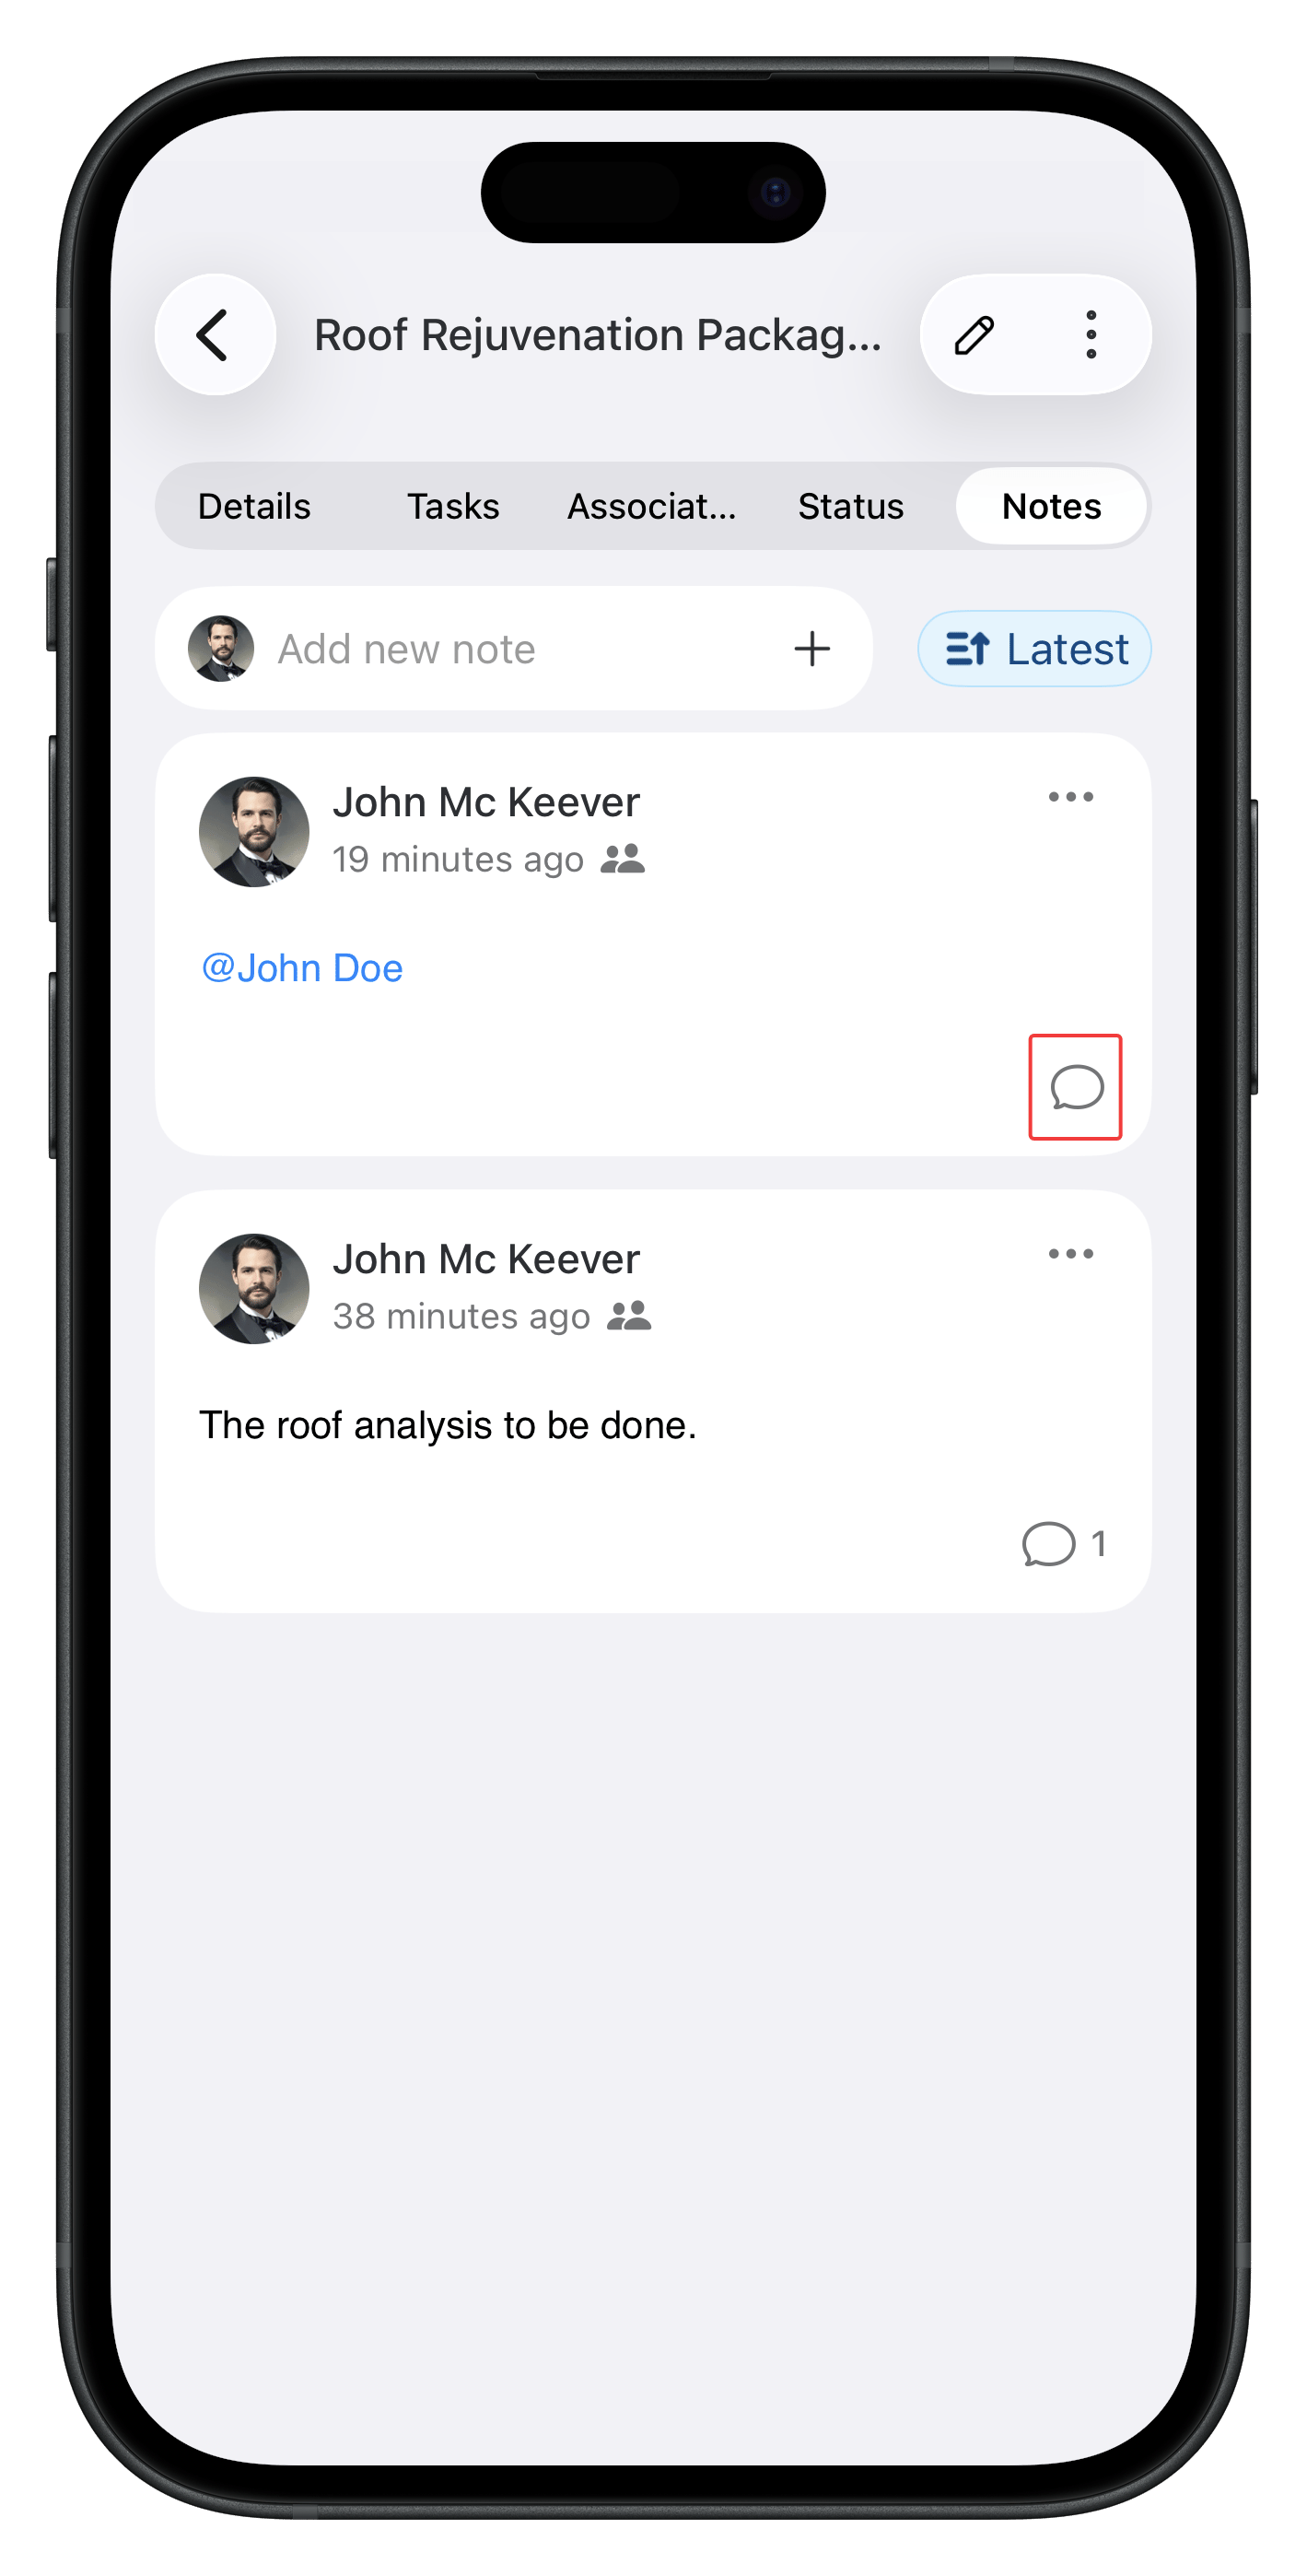
Pin notes
Pinned notes are displayed at the top of the Notes list, regardless of sort order. This is useful for keeping critical information, such as access instructions or safety notices, always visible. To pin a note, click the three-dot (⋮) menu on the posted note and select Pin Note. To unpin, click the same menu and select Unpin Note.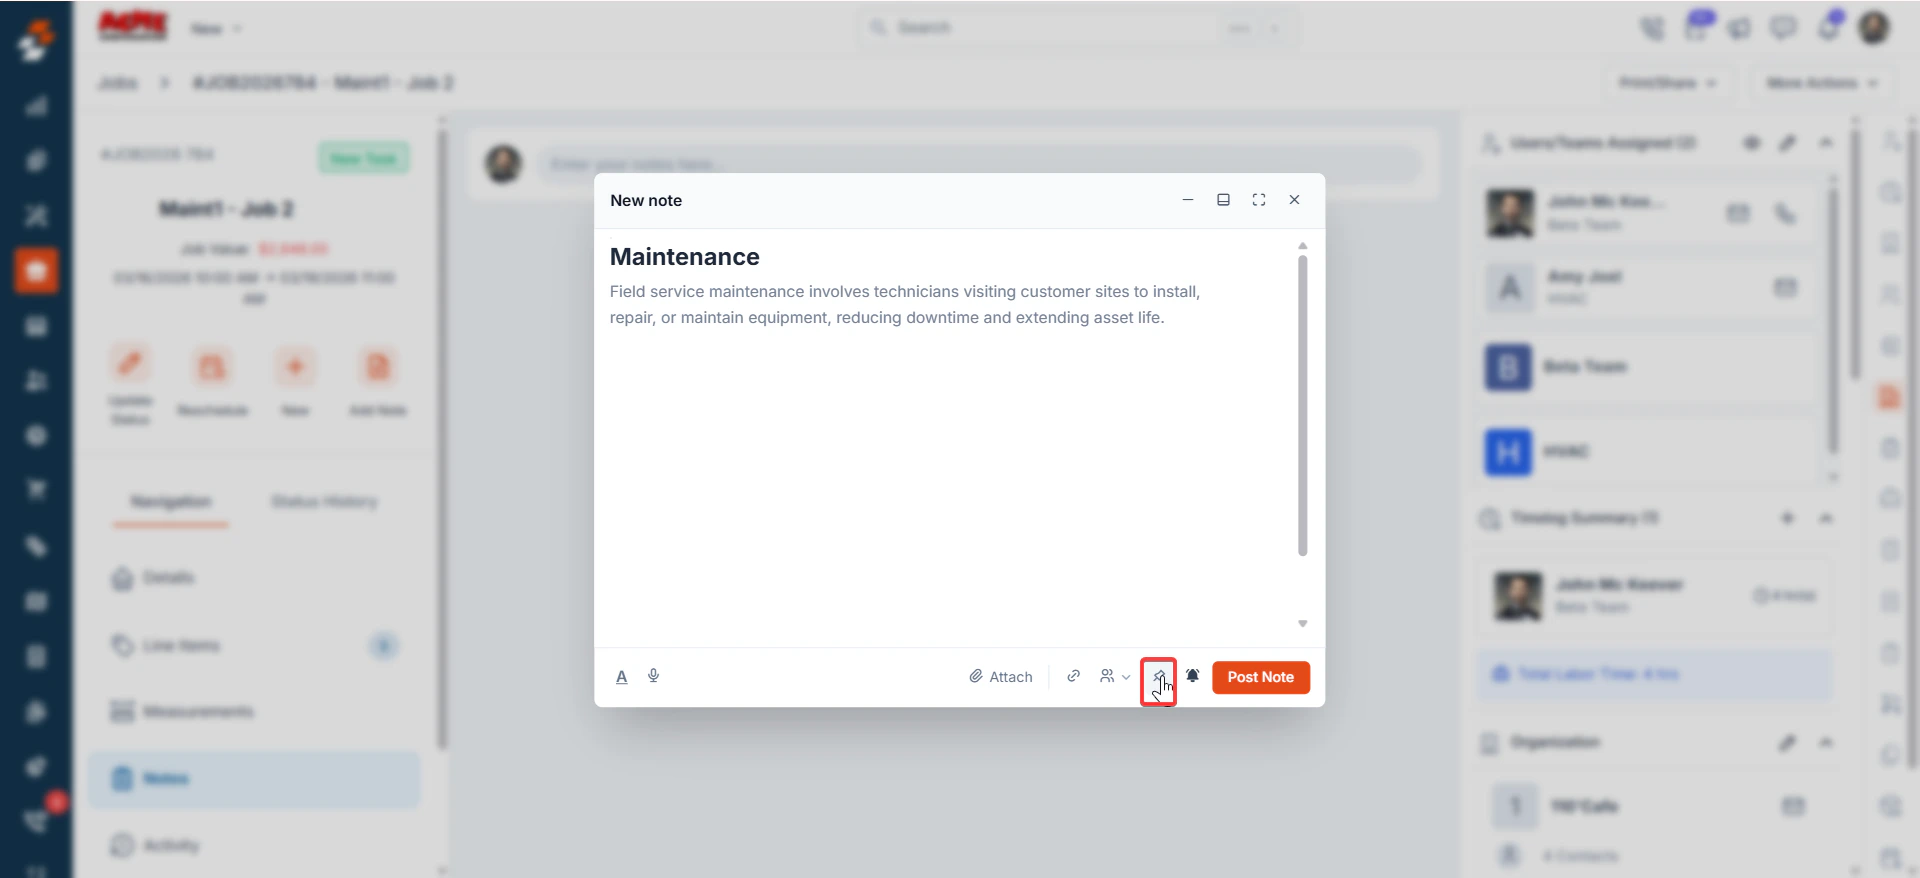
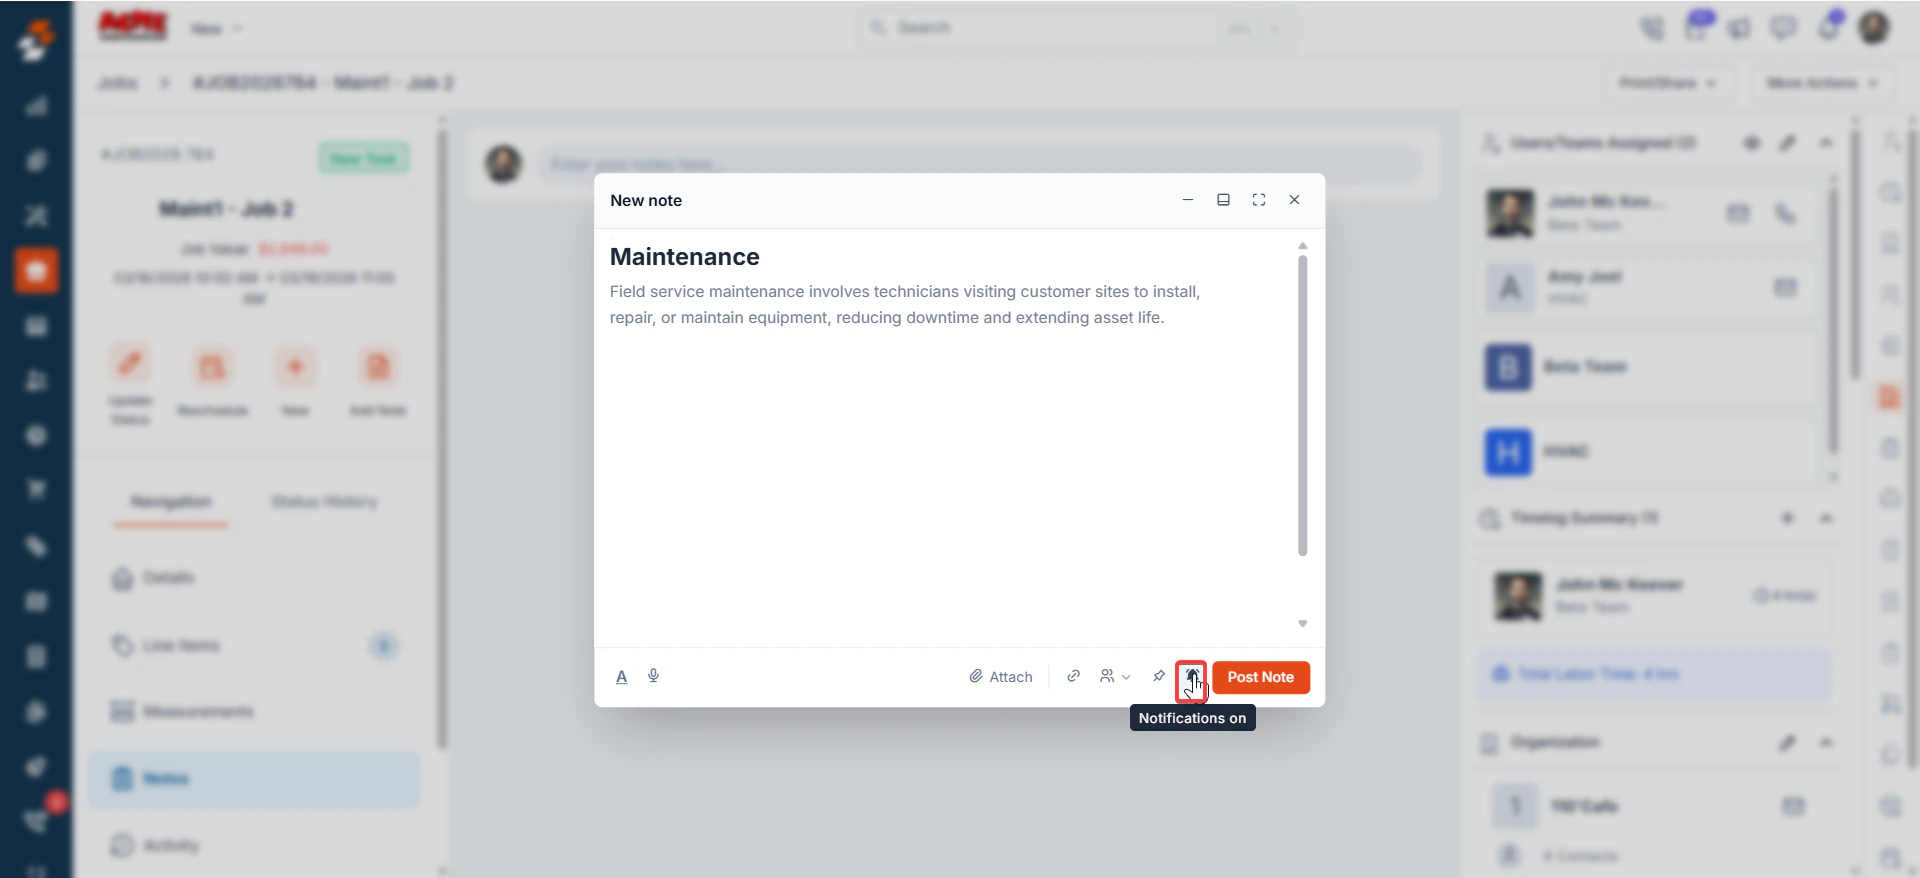
Web vs. mobile: On the web app, new notifications appear in the notification area. On the Zuper mobile app, notifications arrive as push notifications on your device. Enable push notifications in your device settings to receive them.
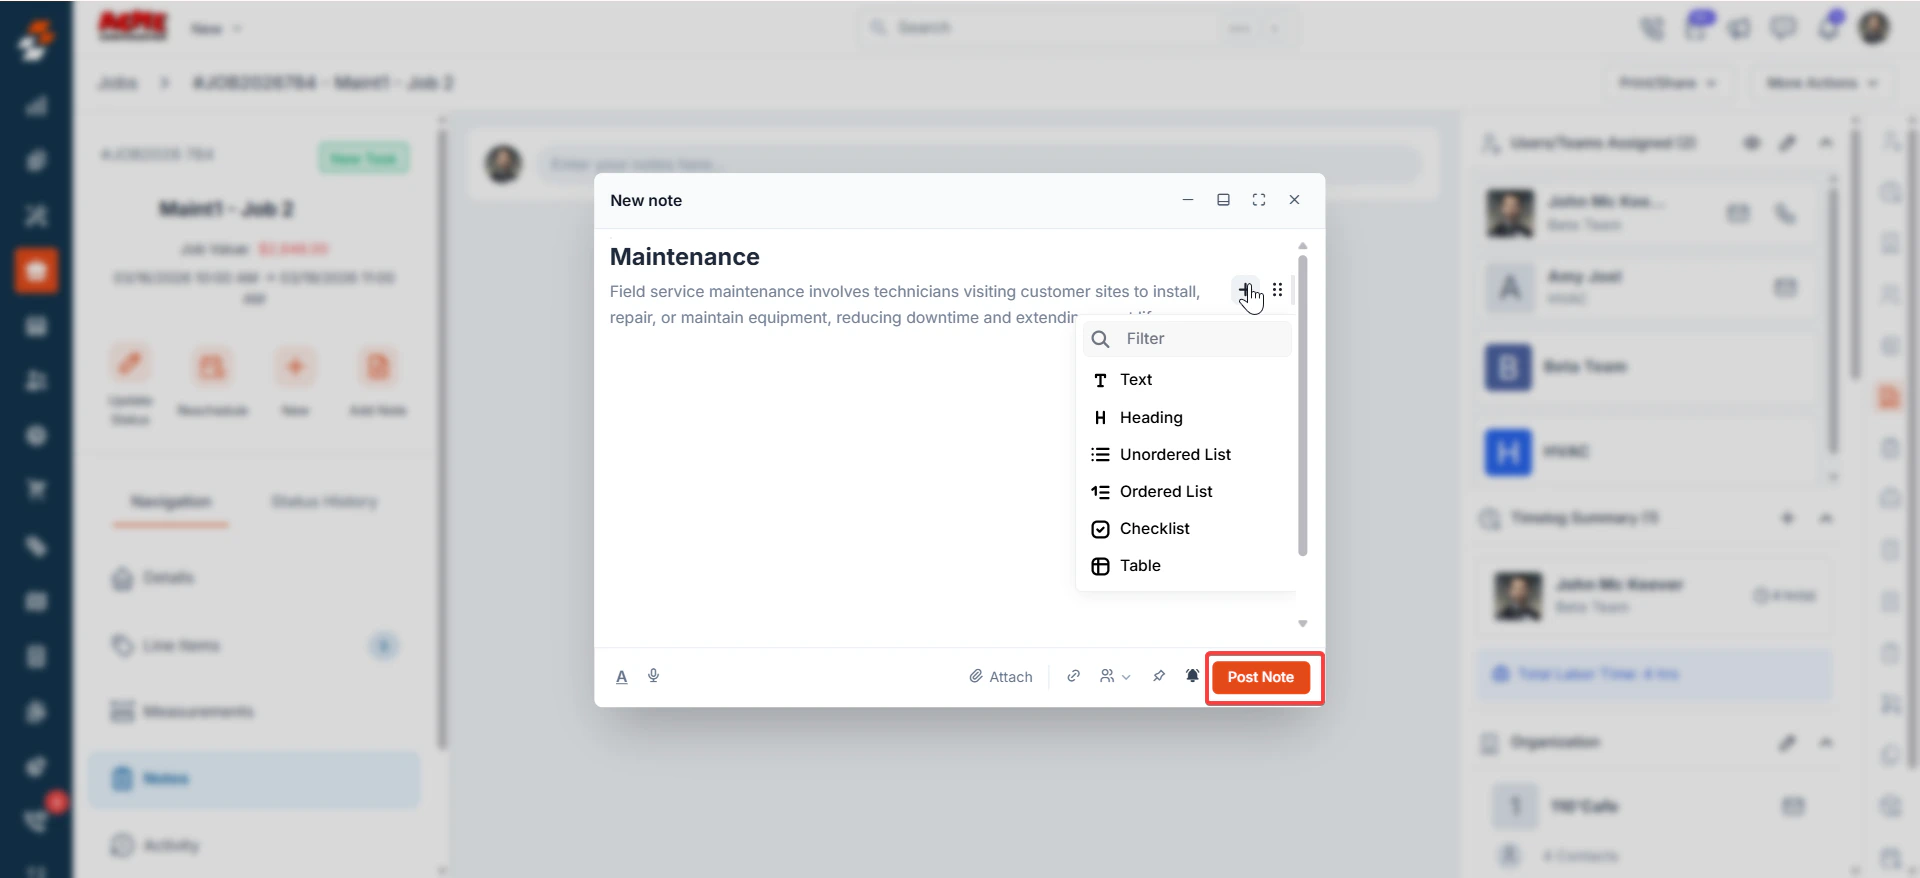
Privacy
- Control who can see the note. Three privacy levels are available:
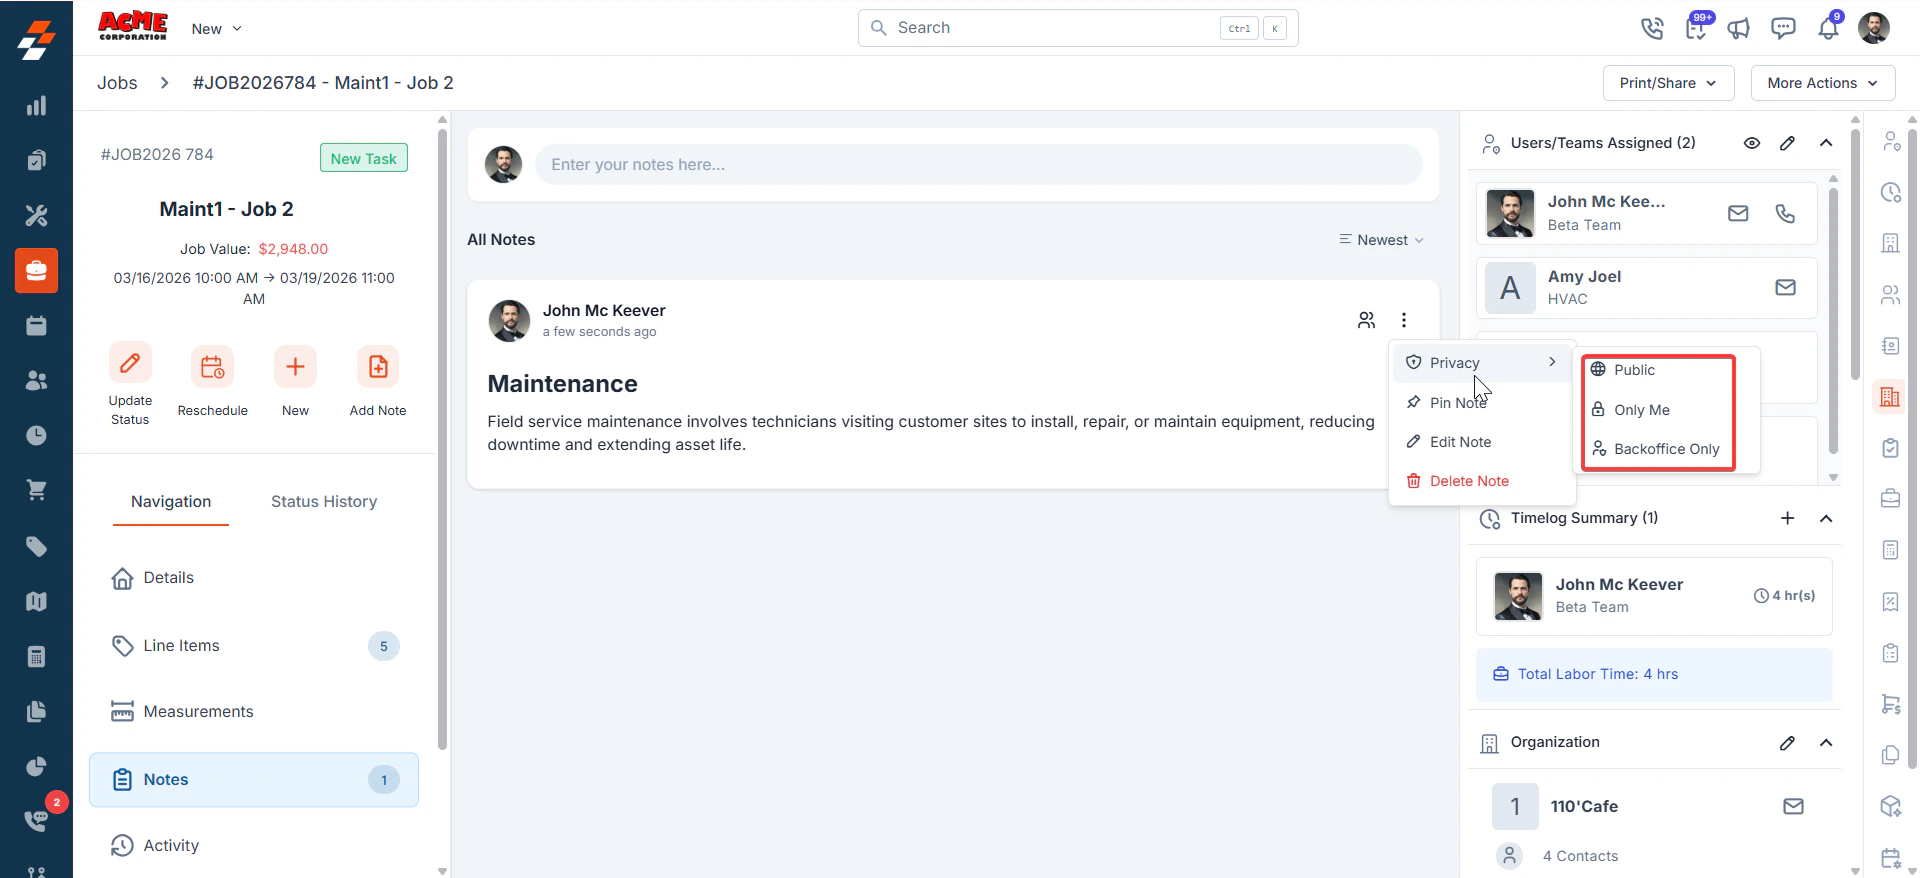
Edit note
Opens the note in the Edit Note dialog, where you can modify the content, attachments, and linked records. Click Update Note to save your changes. Edited notes are marked with ‘(edited)’ next to the timestamp.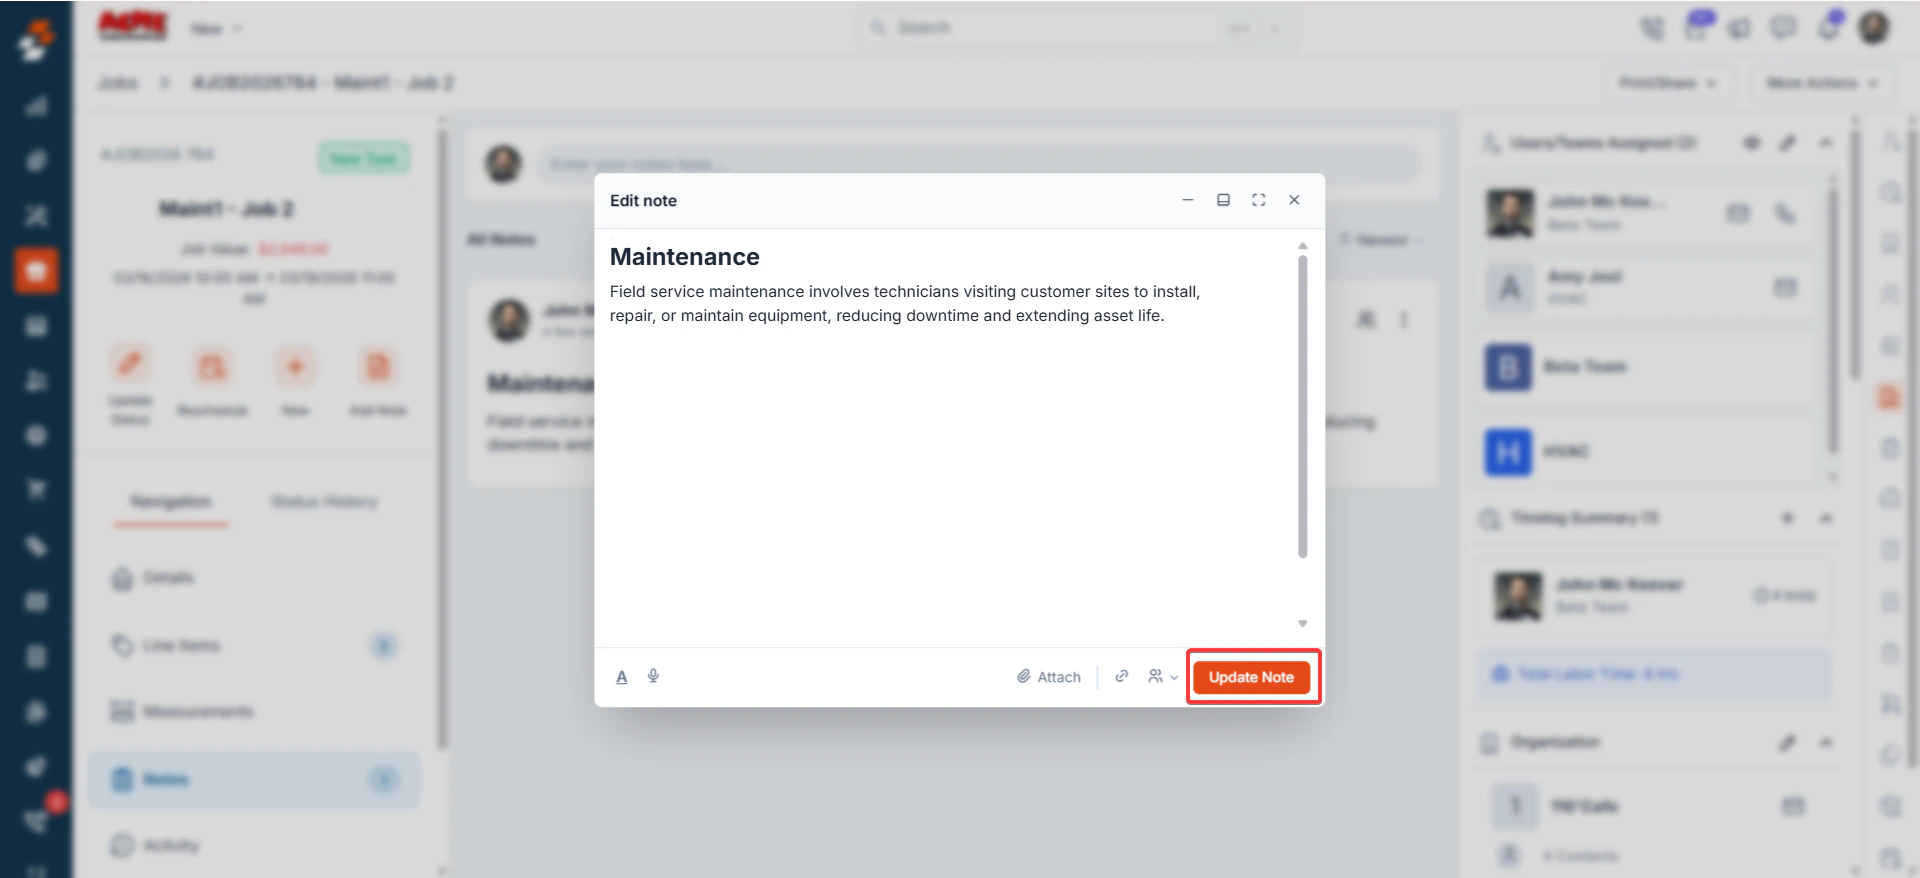
Delete note
Removes the note from the job. A confirmation dialog will appear asking, ‘Are you sure to delete the note?’ Click Delete to confirm.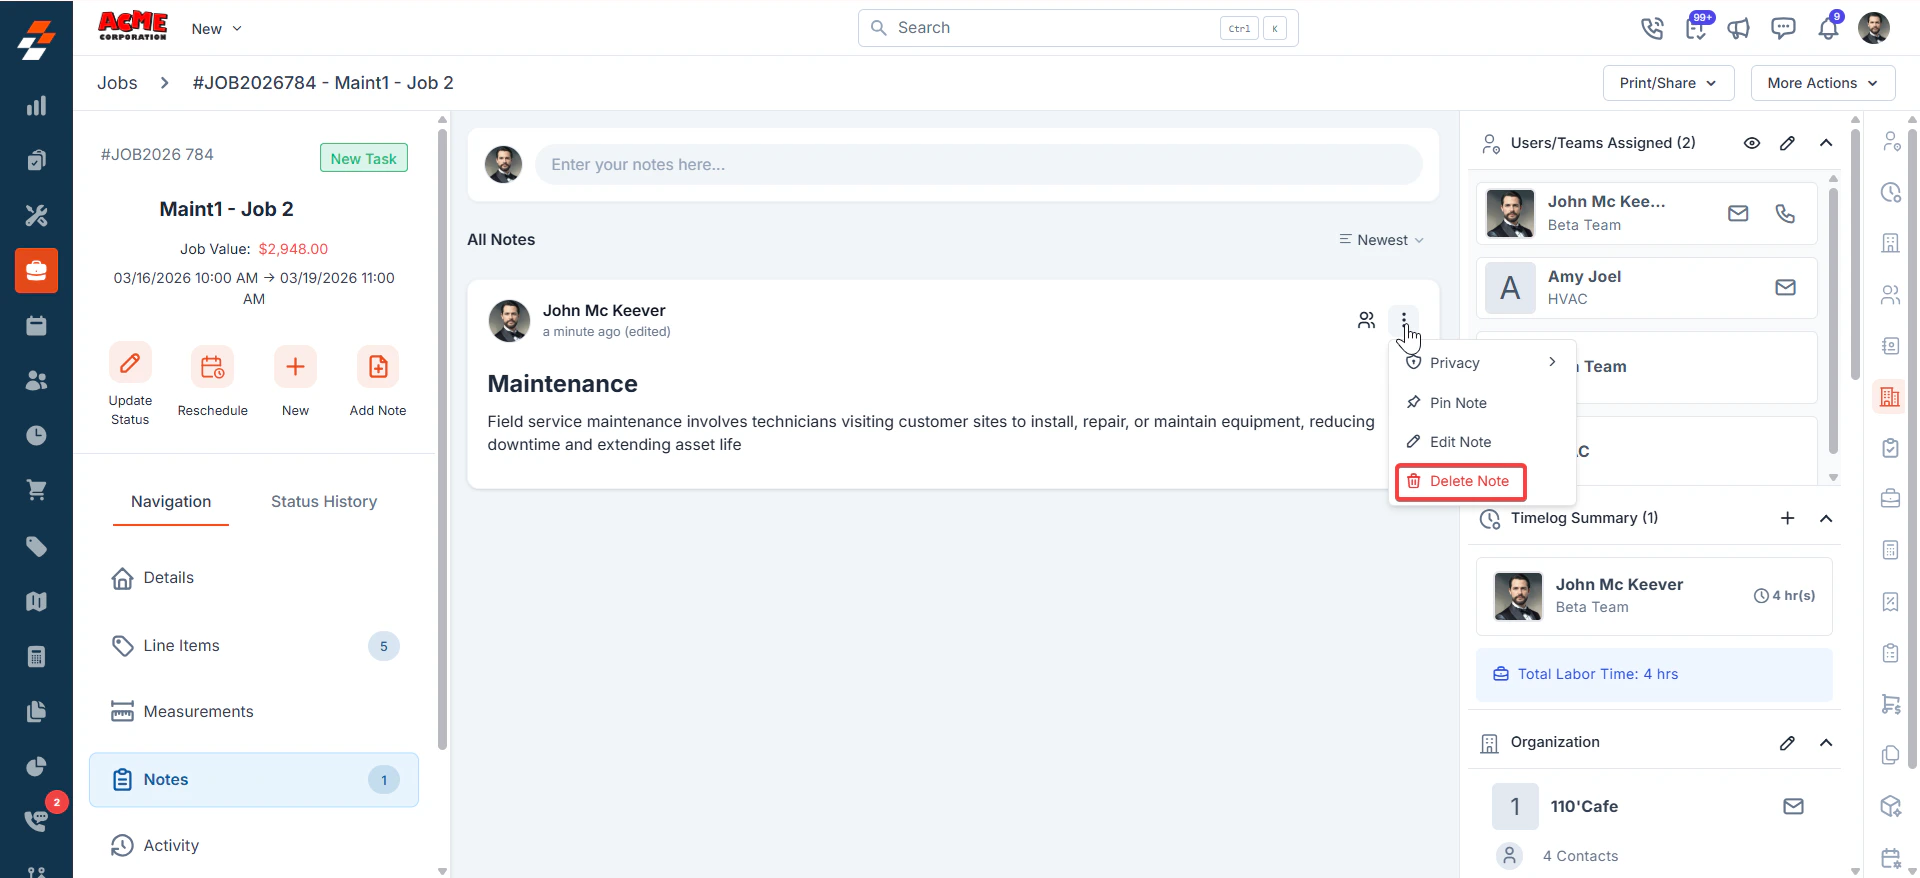
View note timestamp by hovering
To view the exact date and time a note was posted, hover over it.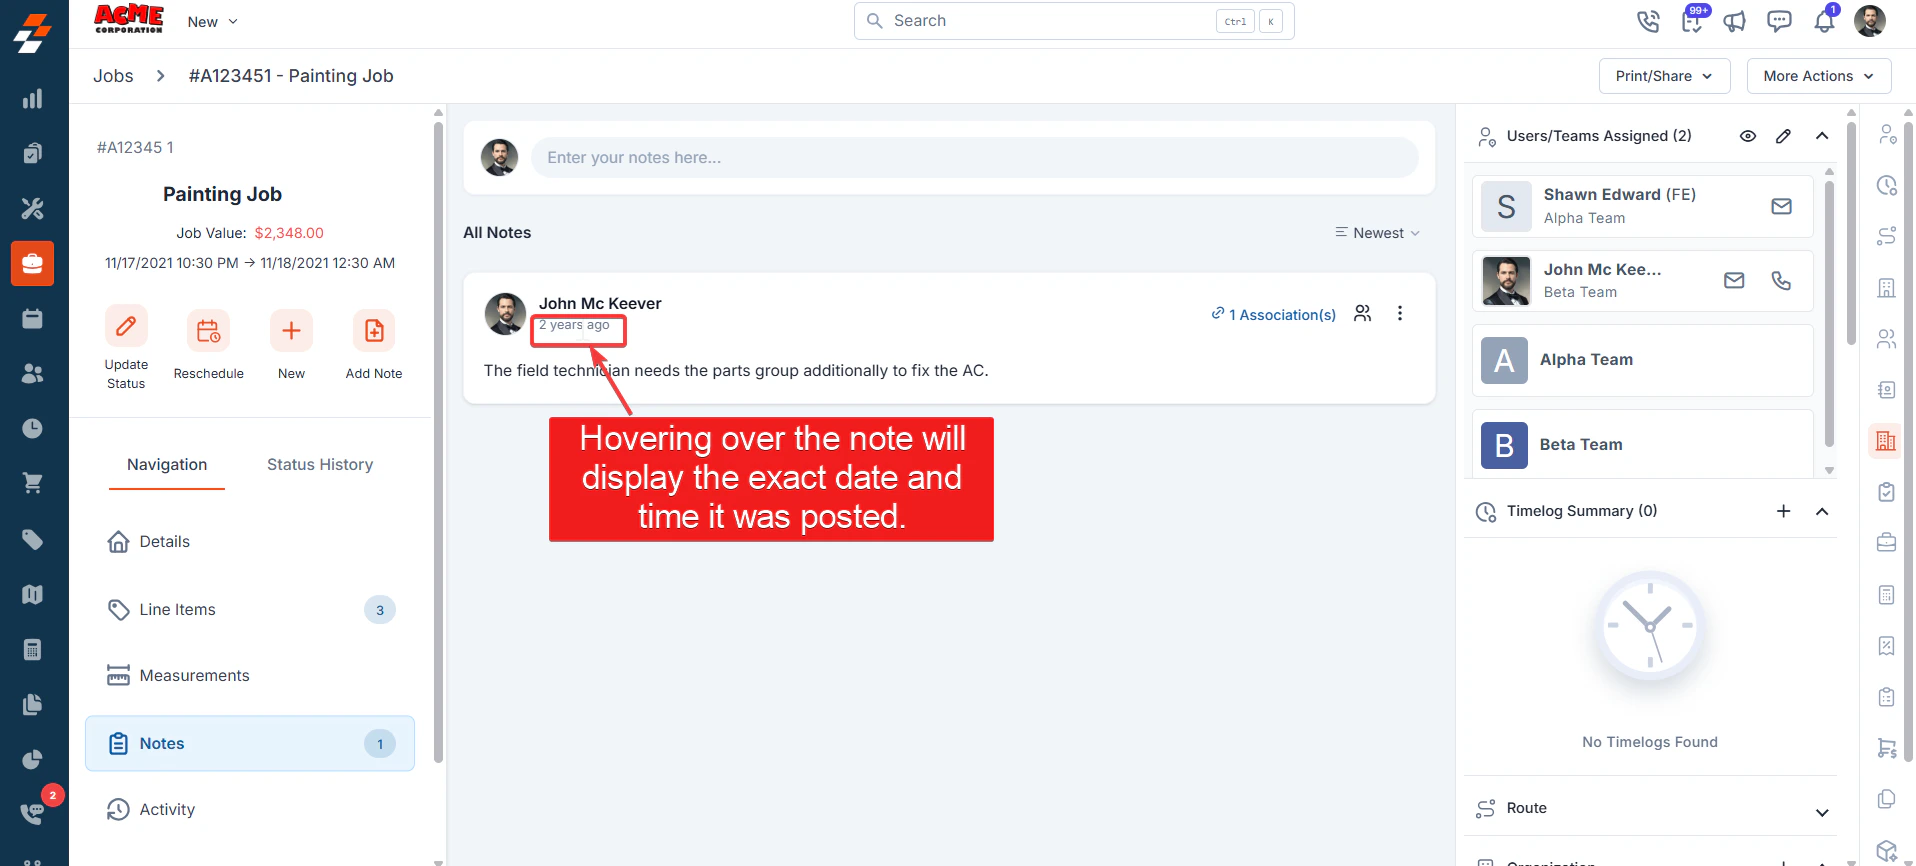
Chats
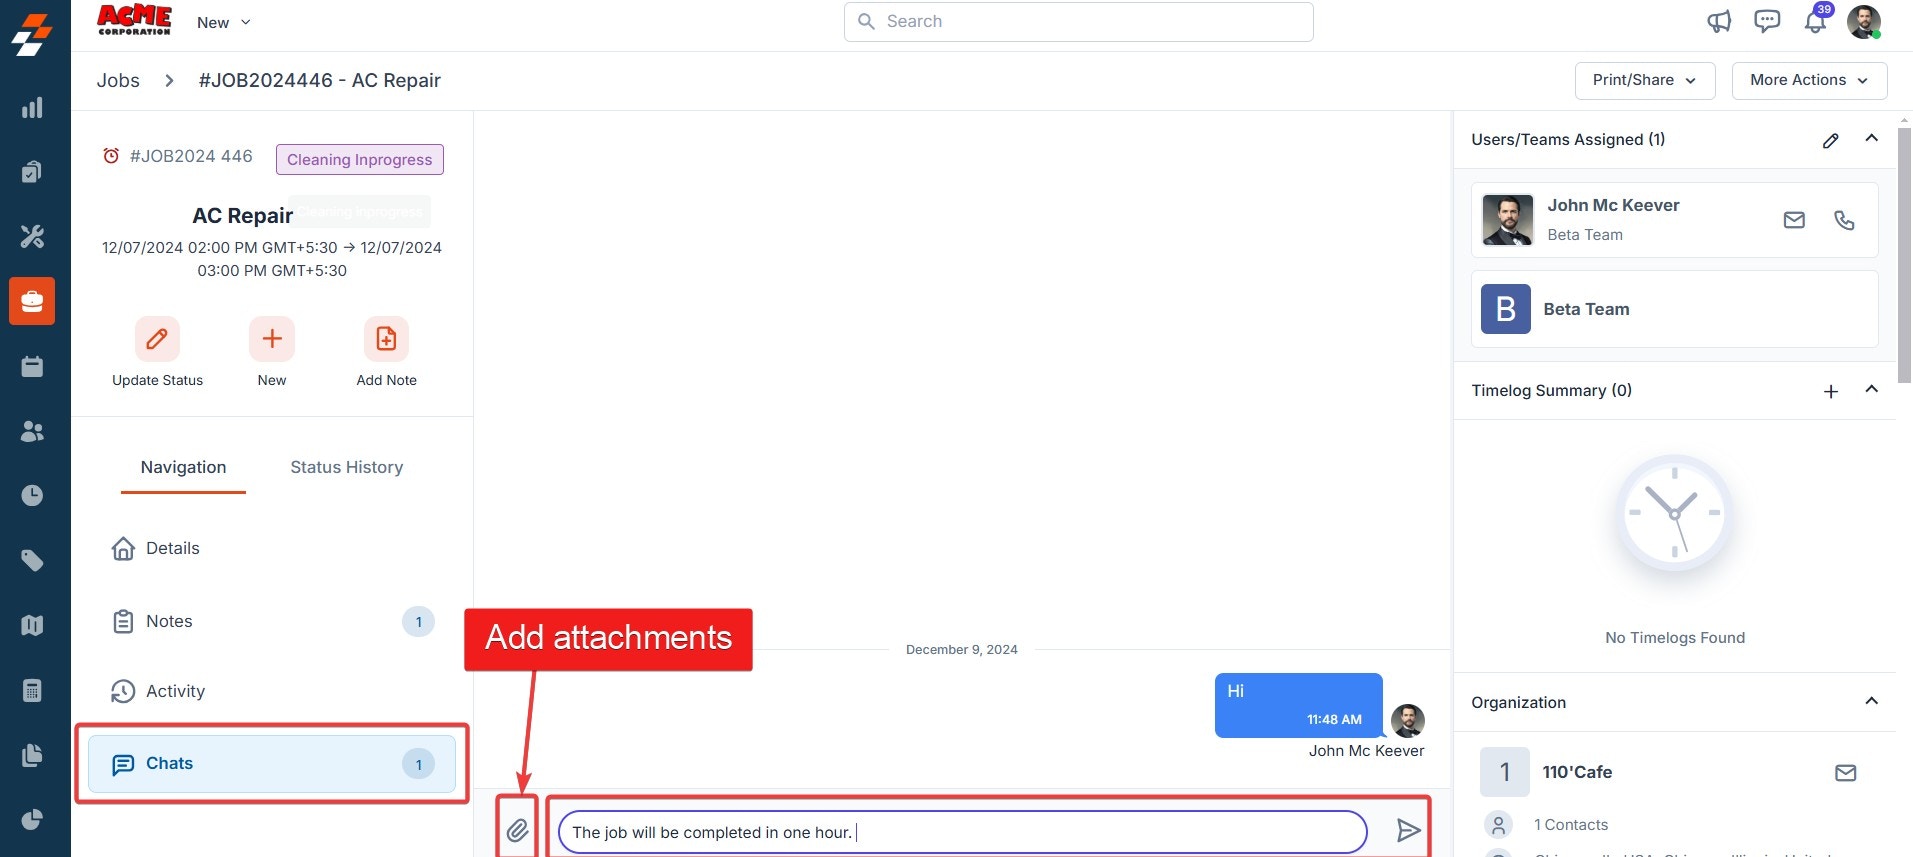
The Chats section enables real-time messaging between back-office staff and field technicians — all within the job record, without leaving Zuper. You can send text messages and attach files such as images or documents directly in the chat.Web vs. mobile: On the web app, new chat messages appear as a notification. On the Zuper mobile app, chat messages arrive as push notifications. Enable push notifications in your device settings to receive mobile alerts.
An enhanced chat experience is available for customers on the Premium plan. To learn more, see the Chat quickstart guide.